Watermarks Google Docs can be useful, whether you’re branding them or marking them as drafts. Adding a watermark is super simple. Here’s how:
Step 1: Open Your Google Doc
Start by opening the document where you want to add a watermark.
Step 2: Access the Watermark Tool
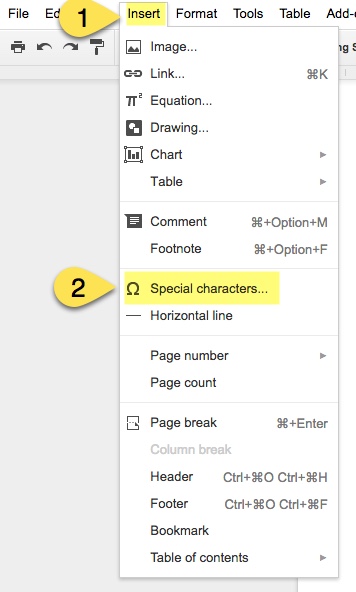
- Click on Insert in the menu bar.
- Scroll down and select Watermark.
Step 3: Choose an Image or Text
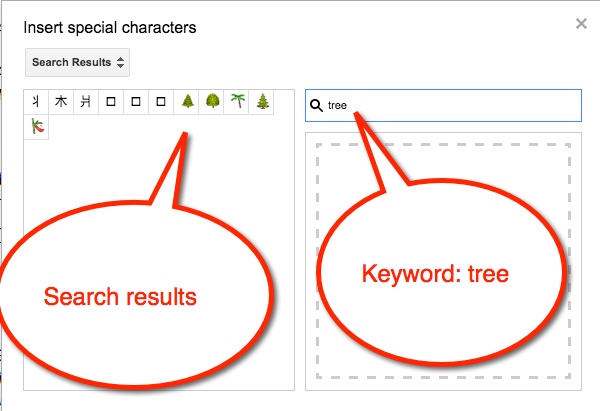
- Image Watermark: Upload an image from your computer, Google Drive, or the web. Adjust its transparency and size as needed.
- Text Watermark: Type your desired text (e.g., “Brand” or “Draft”), then customize the font, size, and transparency.
Step 4: Apply & Save
Once your watermark looks good, click Done, and it will be applied to every page in your document.
Why Use Watermarks?
✔ Protects your work
✔ “Draft” signifies that it’s a work in progress and not final
Check out this video on how to add a watermark in Google Docs with just a few clicks!
 My students constantly amaze me. They come up with great ideas and are innovators in their own right. Not only do I enjoy hearing their thoughts and ideas, often times we implement them in our classroom. I also feel fortunate enough that my students feel comfortable enough to share their ideas with me; knowing they will be taken seriously and not ridiculed.

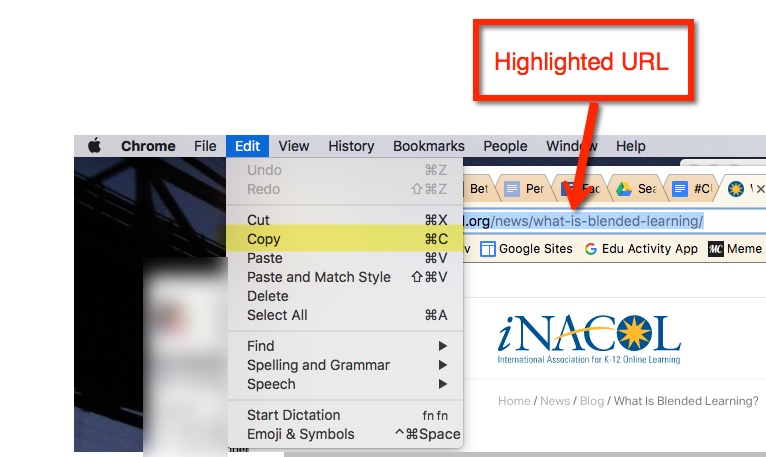
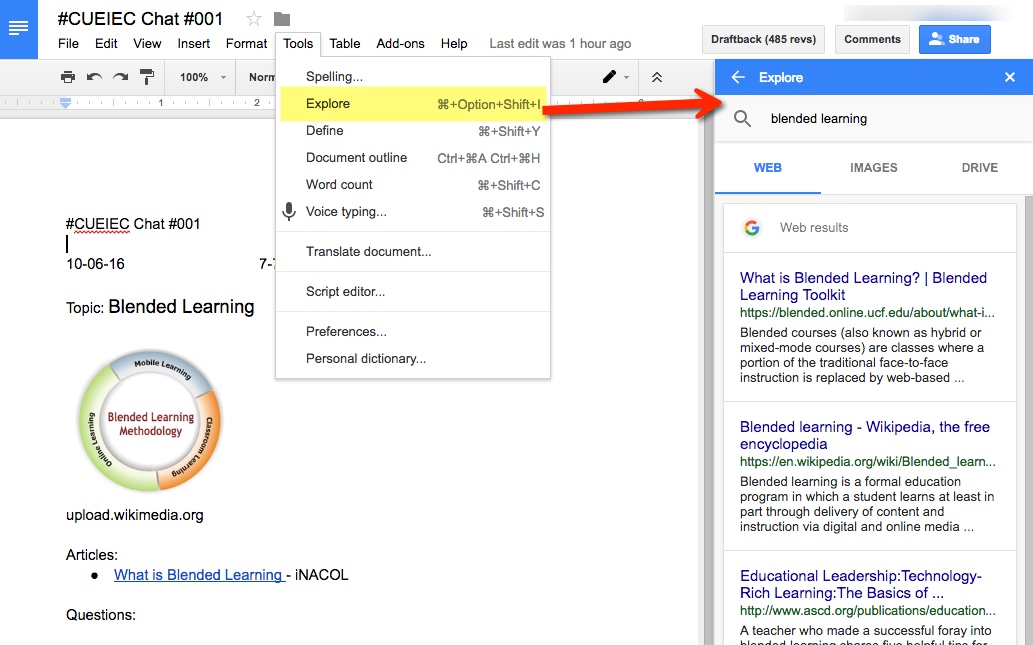
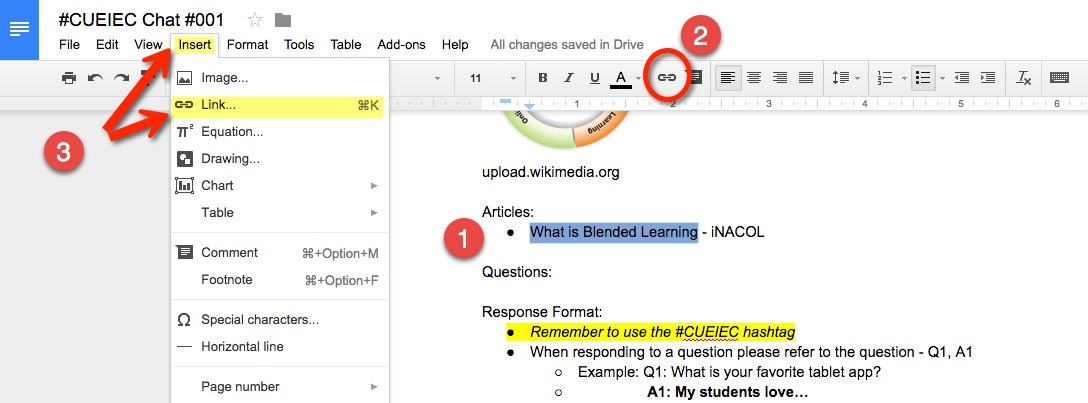 Or highlight the word or phrase then find the chain (or links)


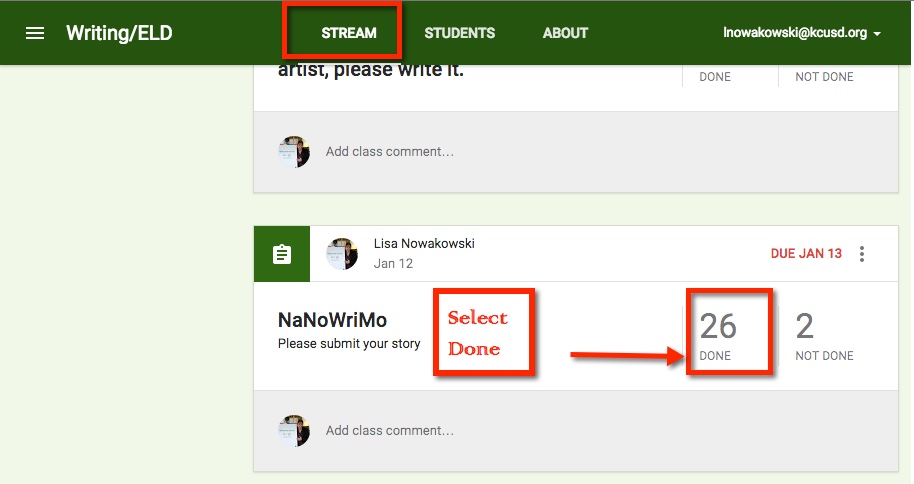 This takes me to a new page within Classroom. Here, I see thumbnails for those students who have completed the assignment. However, just above the thumbnail is an icon of a folder. Click that to open a new tab, Google Drive.
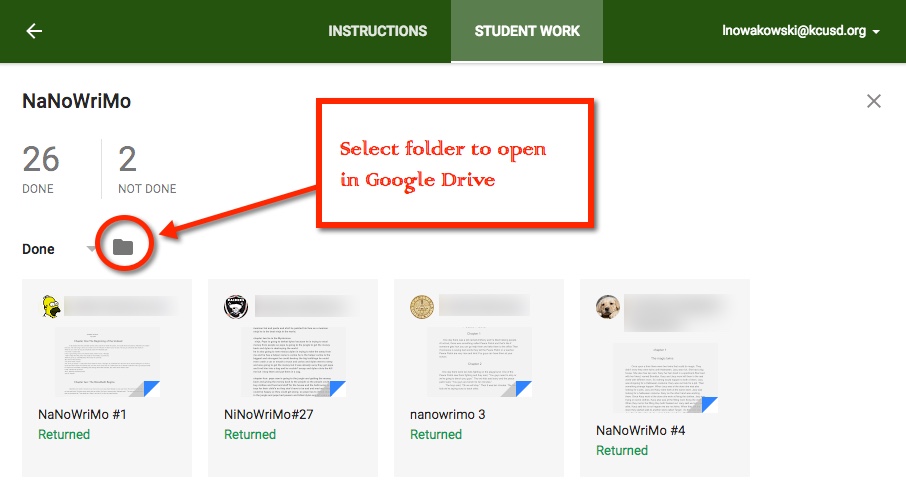 Once the Google Drive tab opens, you can easily navigate your students’ work.
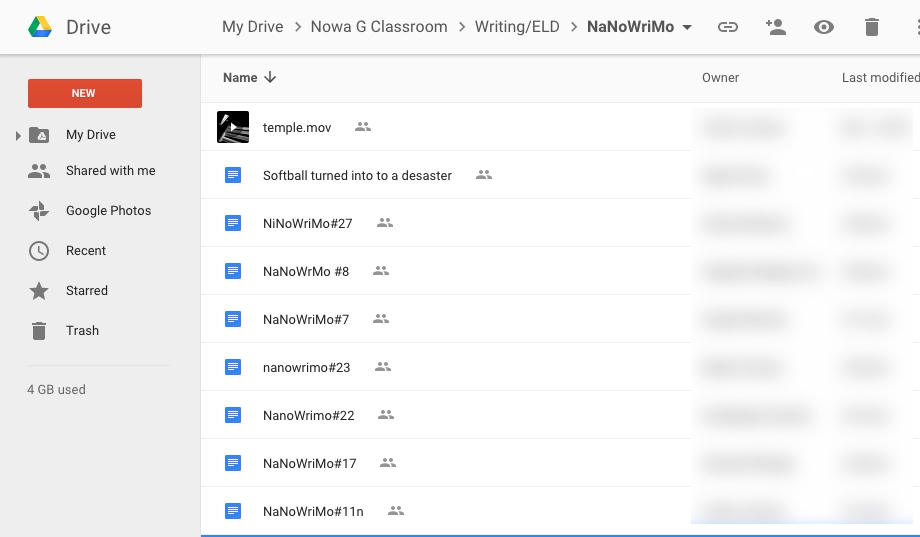


 ocument. Click it. The first time you use this feature, you will be prompted to allow Google Docs to use your microphone. Choose allow and start talking.