Table of Contents – Google Docs

This year I had my 5th graders writing their state reports in Google Docs. One of their tasks was to create a Table of Contents. Normally this is painful – mainly for me. While they understand the concept, they often list ALL the pages in a topic. This year I avoided that by using the Table of Contents feature in Google Docs. It was ridiculously easy!

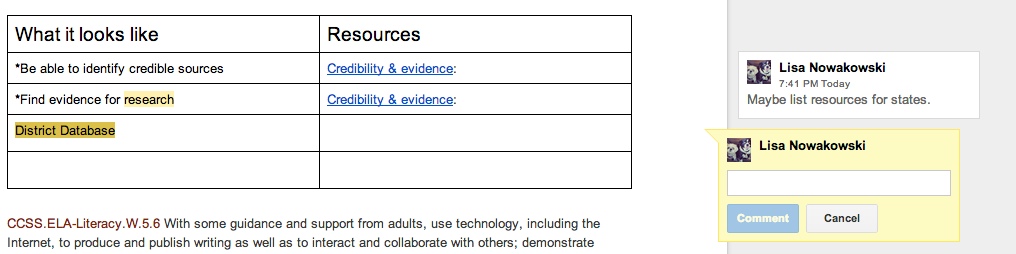
In their state report they changed the text of each heading from ‘Normal Text’ to ‘Heading 1’

toc 1

toc 2

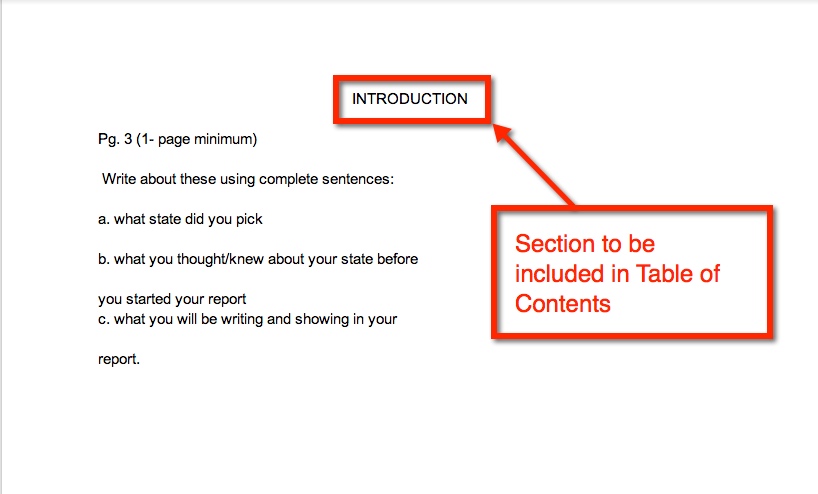
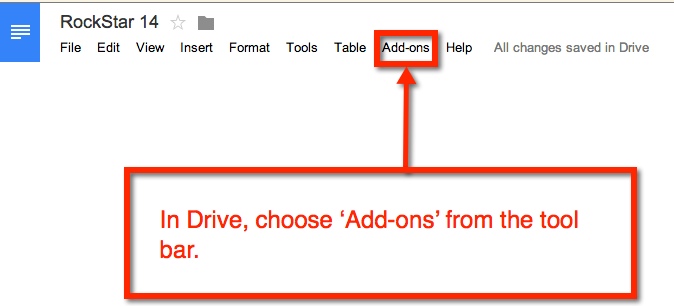
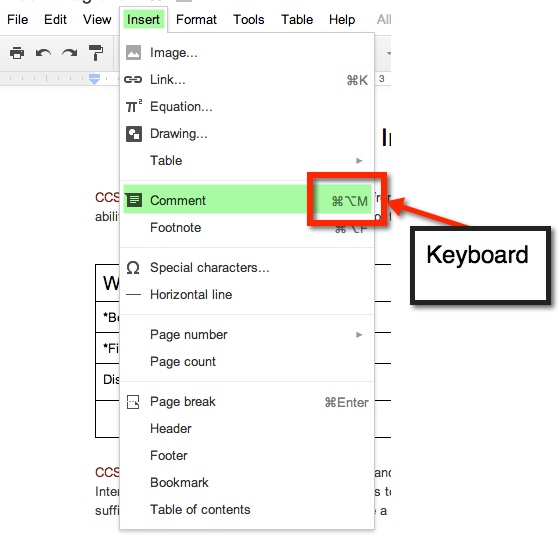
Repeat this process for all sections that need to be added to the Table of Contents. Once you have done this, you can now insert the Table of Contents. Go to the Table of Contents page and place the cursor where you would like the Table of Contents to be submitted. Then insert your Table of Contents.

toc 3

This is what you get. You have hot links to the different sections in a document.

toc 4


Add-Ons – Google Documents

There are many additions that you can add to your Google Drive. For this post, I will specifically talk about Google Documents. An Add-on is simply a tool that makes your life easier. Some examples are: Easy-Bib, Doctopus (great for teacher management – EDU), and a thesaurus.

So how does one get Add-ons? Well, it’s super easy:

Add on 1

add on 2


You can scroll through the options or do a search in the search bar (upper right corner or pop-out menu).

add on 3


Once the desired Add-on is selected, you will need to add it. Simply select the blue ‘free’ (or if there is a cost, the amount will appear) bar located in the upper right corner of the pop-out menu.

add on 4


Another pop-out menu will appear. It will request that you accept their terms.


add on 5


Once you accept, the Add-on will be found under ‘Add-ons’ in the tool bar menu.

add on 6

Google Presentation Background

So, say you like a particular Theme in Google Presentation, but not the color. Well, that is an easy fix!

1. Choose the desired Theme. For this example, I chose ‘Label’.

pic 1


2. Just above the slide, there is a toolbar. One of the options is ‘background’. (NOTE: be sure that the slide is selected – on left – NOT a space on the actual slide, otherwise you will not be able to see this option.)

pic 2


3. A pop-out window will appear. This is where you can select a new color.

pic 3


4. Select ‘Apply to all’ in order to have a uniform looking presentation. Then select the blue ‘Done’ button, and viola you have customized the Presentation Theme.

pic 4


pic 5

Delete Calendar

Throughout the years, I have created a few different Calendars. This can become cumbersome, and I find the need to delete a Calendar from time to time. Here’s how to delete a Calendar:

From your Calendar page, locate the calendar you wish to delete. Your calendars are located under ‘My Calendars’. If you don’t see any, choose the arrow to the LEFT of ‘My Calendars’. All your calendars will be listed here. Once you have located the Calendar to be deleted, select the arrow to the right of desired calendar, and choose ‘Calendar Settings’.

pic 1


pic 2


You will be taken to a new page. Near the bottom of the page, you will see ‘Delete Calendar’ and ‘Permanently Delete This Calendar’

pic 3


Once you select the blue link ‘Permanently Delete This Calendar’, a pop out window will appear. It will ask if you want to Delete the calendar. Select ‘Yes’, then choose ‘Delete for Everyone’. Once you do that, the Calendar is deleted and will no longer appear the ‘My Calendars’ list.

pic 4

Insert Calendar Into Site

Recently I was asked if you could insert a SECOND calendar into a Google Site. The answer is YES!

Create a New Calendar

The process is simple. First, CREATE the new calendar. Make sure that the calendar is created in the same account that the Site is associated with. Choosing the arrow to the right of ‘My Calendars’ will give you the option to create a new calendar.

pic 1

This will take you to a new page where you will name your new calendar (1.). If you would like your calendar public, which you probably do if it’s on a website, be sure to choose the  “Share with Others’ then ‘Make This Calendar Public’ options on the page (2.). Once you have set up your calendar, remember to ‘Create Calendar’ (3.).

pic 2

Your new calendar will now appear under ‘My Calendars’ on your Google Calendars Page.

pic 3

Now you are ready to insert information on your new calendar.

Insert New Calendar Into Google Site

Locate the Site and Page you would like to insert your new calendar. Enter ‘Edit Mode’ on the Site – choose the pencil icon at the top right of the page (or press e on the keyboard).

pic 4

This will then bring up editing options. Find ‘Insert’, then ‘Calendar’.

Pic 5

A new window will appear, choose the desired Calendar. Then, choose the blue ‘Select’ button. From here, a new screen will pop up. This will allow you to set the properties of the calendar on your Site. Remember to choose the red ‘Save’ button when you are done.

pic 6

pic 7

Now that you have inserted your new calendar, remember to ‘Save’ the page (located at the top right of the page). You will now see your new calendar.

pic 8

Comment in Google

Another feature that allows for easy collaboration in Google Documents is the ‘Comment Feature’. This feature allows me to highlight a particular text and comment on it, for clarification or questions. It’s really very easy.

First, highlight the desired text (can be a word, phrase, sentence).

pic 0

Now you can add your comment. There are 4 ways in which to access the ‘Comment Feature’:

1.  From the Tool Bar iconPic 1


2. ‘Insert’ option on Tool Bar

3. Keyboard Shortcut


Pic 2


4. Gray Comments button next to Share button on top right.

pic 5


A yellow comment box will appear to the  right of the document. This is where you will type your comment.

pic 6


If more than one comment is on the document, and you are unsure of which comment goes to which highlight, simply click on either the comment or the highlighted section. If the highlighted text is chosen, then the comment will ‘pop up’ and show in the yellow box. If the comment is chosen, the highlighted text will become a darker yellow.

When you have finished making your comment, be sure to chose the blue comment button.

Screen Shot 2014-01-29 at 8.02.48 PM