Today, we’re diving into a simple but powerful feature in Google Slides—how to insert a chart from Google Sheets into your presentation without copy-pasting.
If you’ve ever needed to share data, track progress, or present reports to colleagues or board members, this tip will save you time and effort. Let’s check it out!
Step 1: Open Your Google Slide Presentation
Start by opening the Google Slides presentation where you want to insert your chart. Navigate to the slide where you need to add the data visualization.
Step 2: Insert a Chart from Google Sheets
Instead of copying and pasting, follow these steps:
- Click on Insert in the top menu.
- Scroll down to Chart > From Sheets.
- A window will pop up showing your available Google Sheets. Select the sheet that contains the chart you need.
- Once inside the selected spreadsheet, choose the correct chart by clicking on it (you’ll see a blue border appear).
- Click Import, and just like that—bam!—your chart is now in your Google Slide.
No extra formatting, no fuss—just an easy and seamless way to integrate your data.
Step 3: Why Use This Method?
There are several reasons why inserting a chart from Google Sheets into Google Slides is a game-changer:
✔ No manual copy-pasting—saves time and effort.
✔ Live updates—if your data in Google Sheets changes, you can refresh the chart in Slides with a single click.
✔ Consistent formatting—ensures your reports look professional and well-organized.
This feature is especially useful when creating presentations for board meetings, tracking student fluency, or sharing progress reports with colleagues.
I told you it was super easy! Now you can insert charts from Google Sheets into Google Slides like a pro, making your presentations more data-driven and visually appealing.
If you enjoyed this quick Google tip and want to learn more, be sure to like, subscribe, and stay tuned for my next tutorial. Happy presenting, and see you next time!
 Before we get to HOW to change the view, set the view to how you would like it to look when the Map is first loaded. Once the desired view is on the screen, click on the 3 dots to the right of the Map Title (#rOxnard1 in this case), a pop out window will then appear with options. One of them is to set the default view.
 Simply select ‘Set default view’ and you’re done! Now everytime this map is opened, it will look like this:
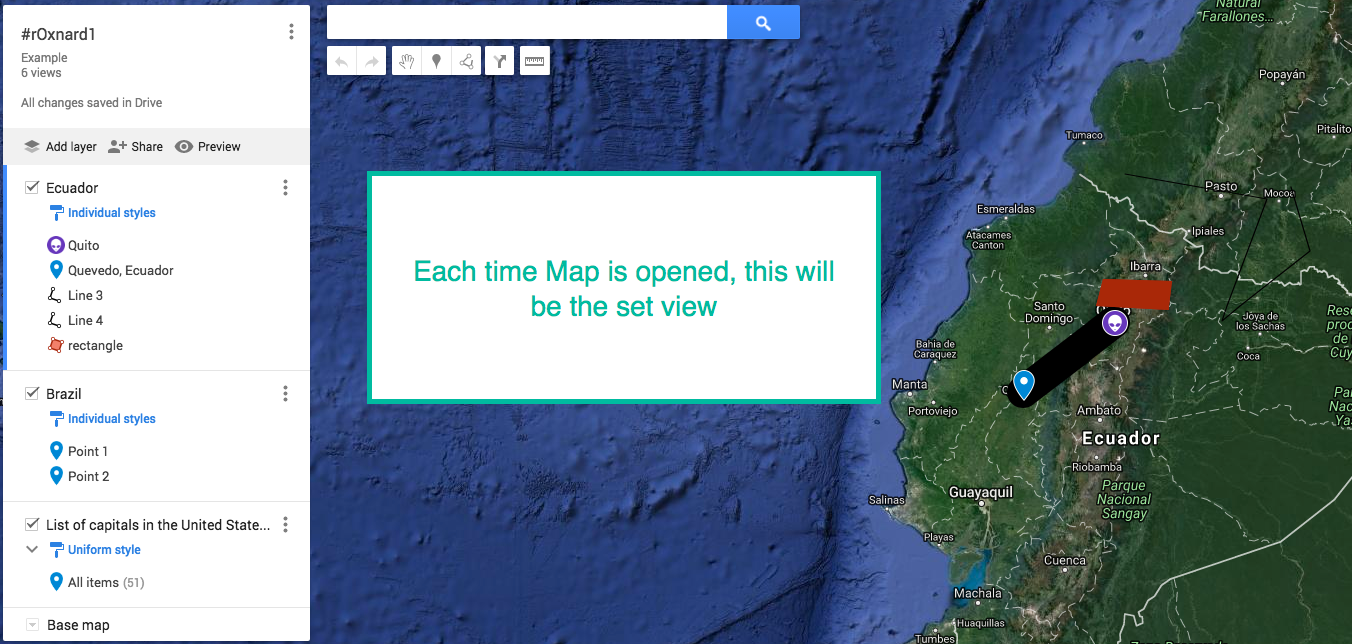


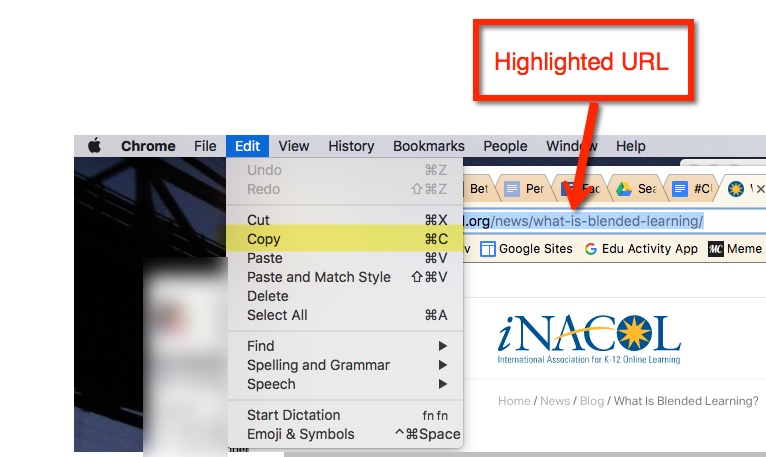
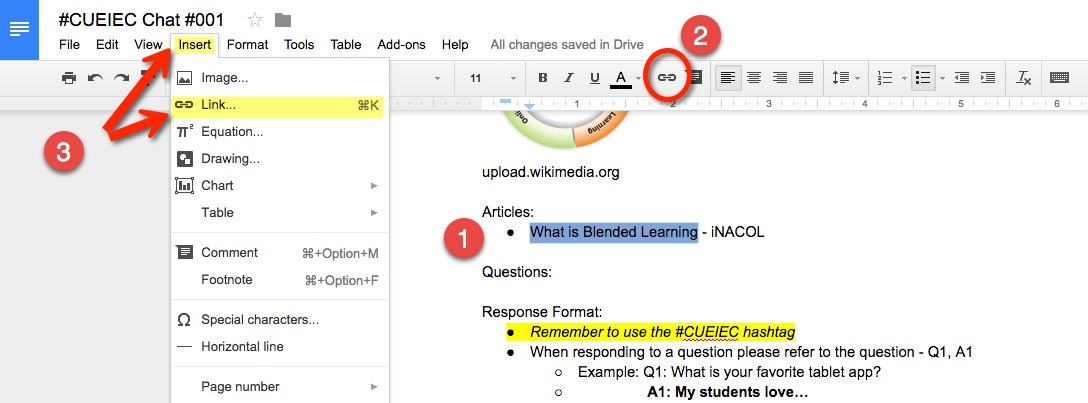 Or highlight the word or phrase then find the chain (or links)

