Say What?
With the school year fast approaching, it was quite a shock to find out that the district was rekeying ALL locks in the district. I’m not sure how many locks that consists of, but seeing as there are 4 schools in our district, each with classrooms, offices, gates, cafeterias, etc, it’s safe to say that it’s a lot of locks – and keys. It was a bigger shock to find out that we, the teachers, would not be given our school keys until (as of right now) the first day teachers are mandated to report – the day before students arrive. We have access to our classrooms, via the lead custodian at our respective sites who will gladly open our classrooms when they are there. Many had the same reaction as I did…What? What if I need to come after the custodial staff is gone? How will I ever get my room ready? Why?
How Will It Work Out?
It will. It always works out. Most teachers went in and began setting up their classrooms within the confines of the times set by the custodial staff – who have worked hard and done a great job getting us cleaned and ready for the new school year.
How Is This a Blessing?
We, teachers, work way to hard. We give up much of our time during summer, weekends, and other school breaks. It’s high time we start enjoying our lives OUTSIDE of work. By having some of our control stripped, we have been forced to stay away. For some it is spent with family, others crossed off some items on their ‘to do’ list, still others spent time with friends enjoying their company, while some took advantage of the time and had a mini getaway vacation. The blessing lies in the district forcing us to be selfish and step away from our classroom.
A Pretty Classroom
So who is really impressed by that pretty classroom most of us spend preparing at the beginning of the school year? Who really appreciates all those pretty bulletin boards? What about the perfectly themed classroom? You, the teacher, that’s who. Oh sure, on the surface the kids and parents are in awe, but digging a little deeper they appreciate other aspects of our work. The parents are more impressed when you push their child, when you get them help, food, clothing; they appreciate the more meaningful aspect of our jobs. And the kids? Well, they appreciate a great lesson. You know, the ones that you spent hours preparing for. The ones that you are excited about. The ones appear like a game, are fun, and engaging.
This Blessing
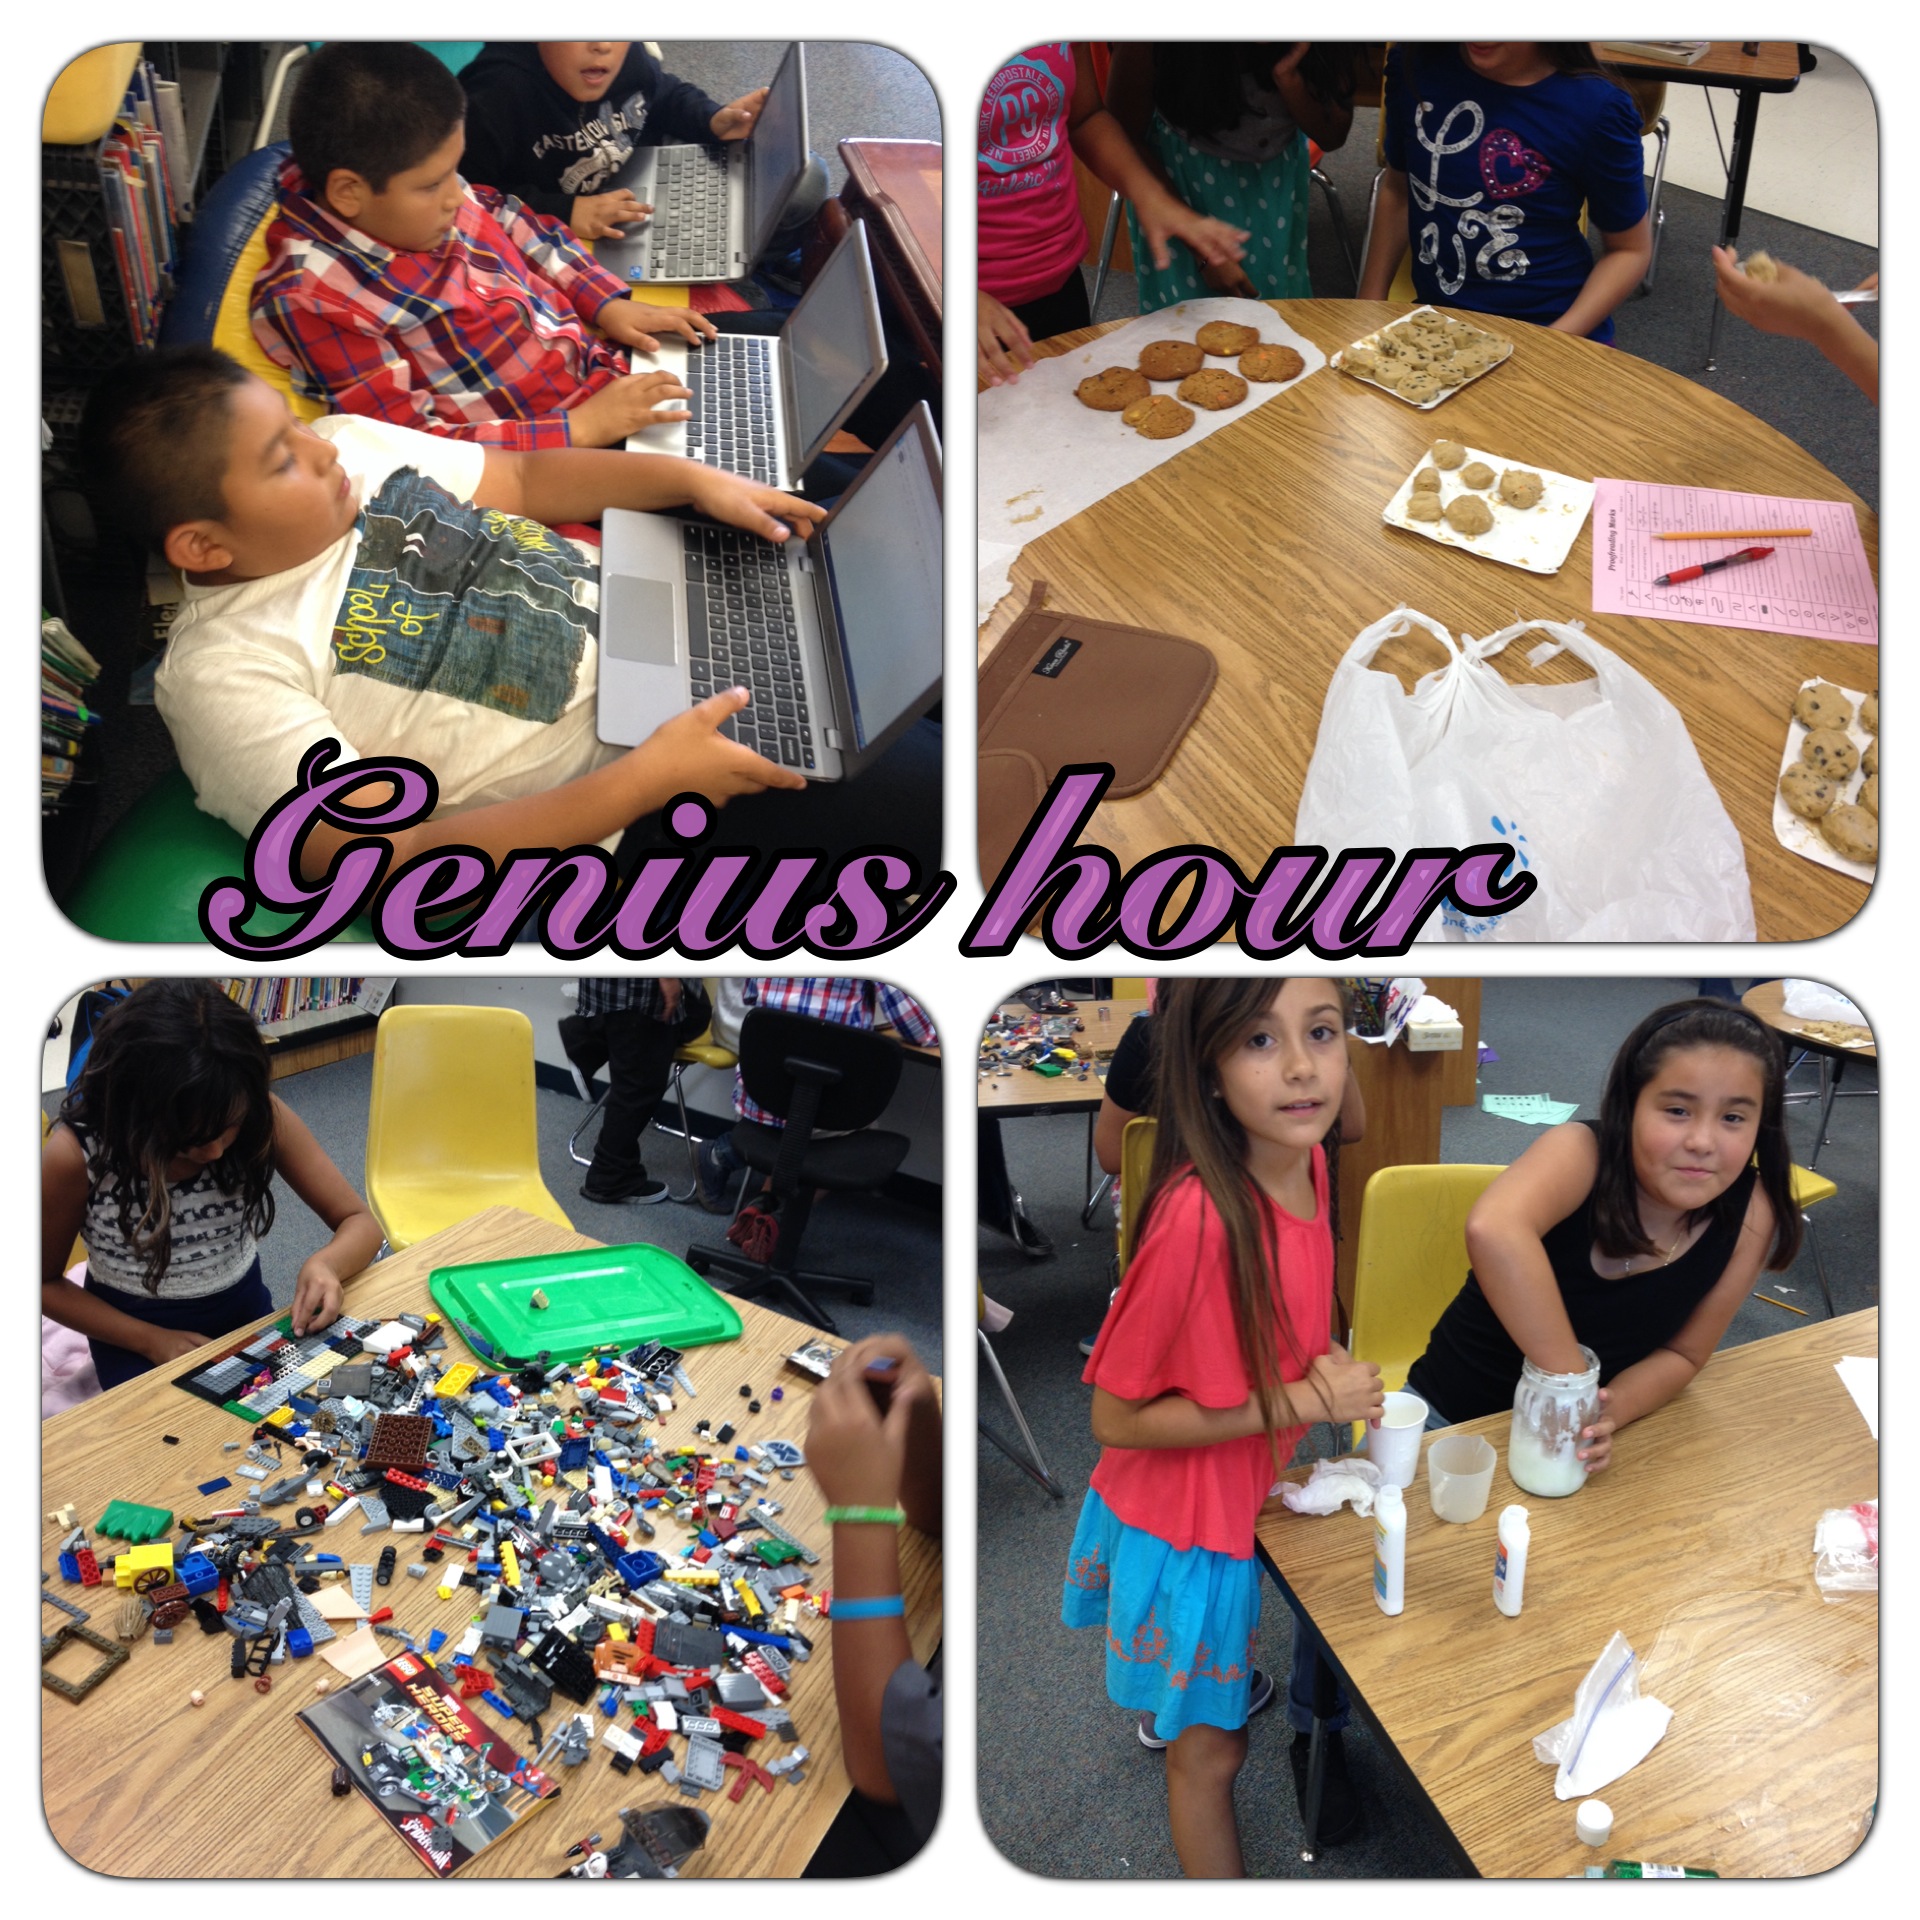
So instead of being filled with anxiety and complaining, I welcome this. I have my lessons ready for the first week – I didn’t need to be in my class for that. Those lessons are fun, build team unity, and set a foundation for routines. The first week is filled with THEM creating the rules, creating Voki‘s, and problem solving with spaghetti and marshmallows. Doesn’t that sound way better than being wowed by a ladybug themed classroom and boring dittos (that is not to say that if you have a themed classroom, you have dittos)? Now if you are one of those amazing teachers who have awesome lessons and a cutesy themed classroom, hats off to you! I however, will enjoy my last weekend of summer vacation. Embrace those small blessings in disguise!
To My District
I say Thank You! You have forced me to look at things differently and enjoy life!


 For a few years now I have been using
  As I’ve stated, it wasn’t until this year that I began using this site consistently. My partner teacher and I have been planning weekly lessons around one video or another. This week, we were in the ‘


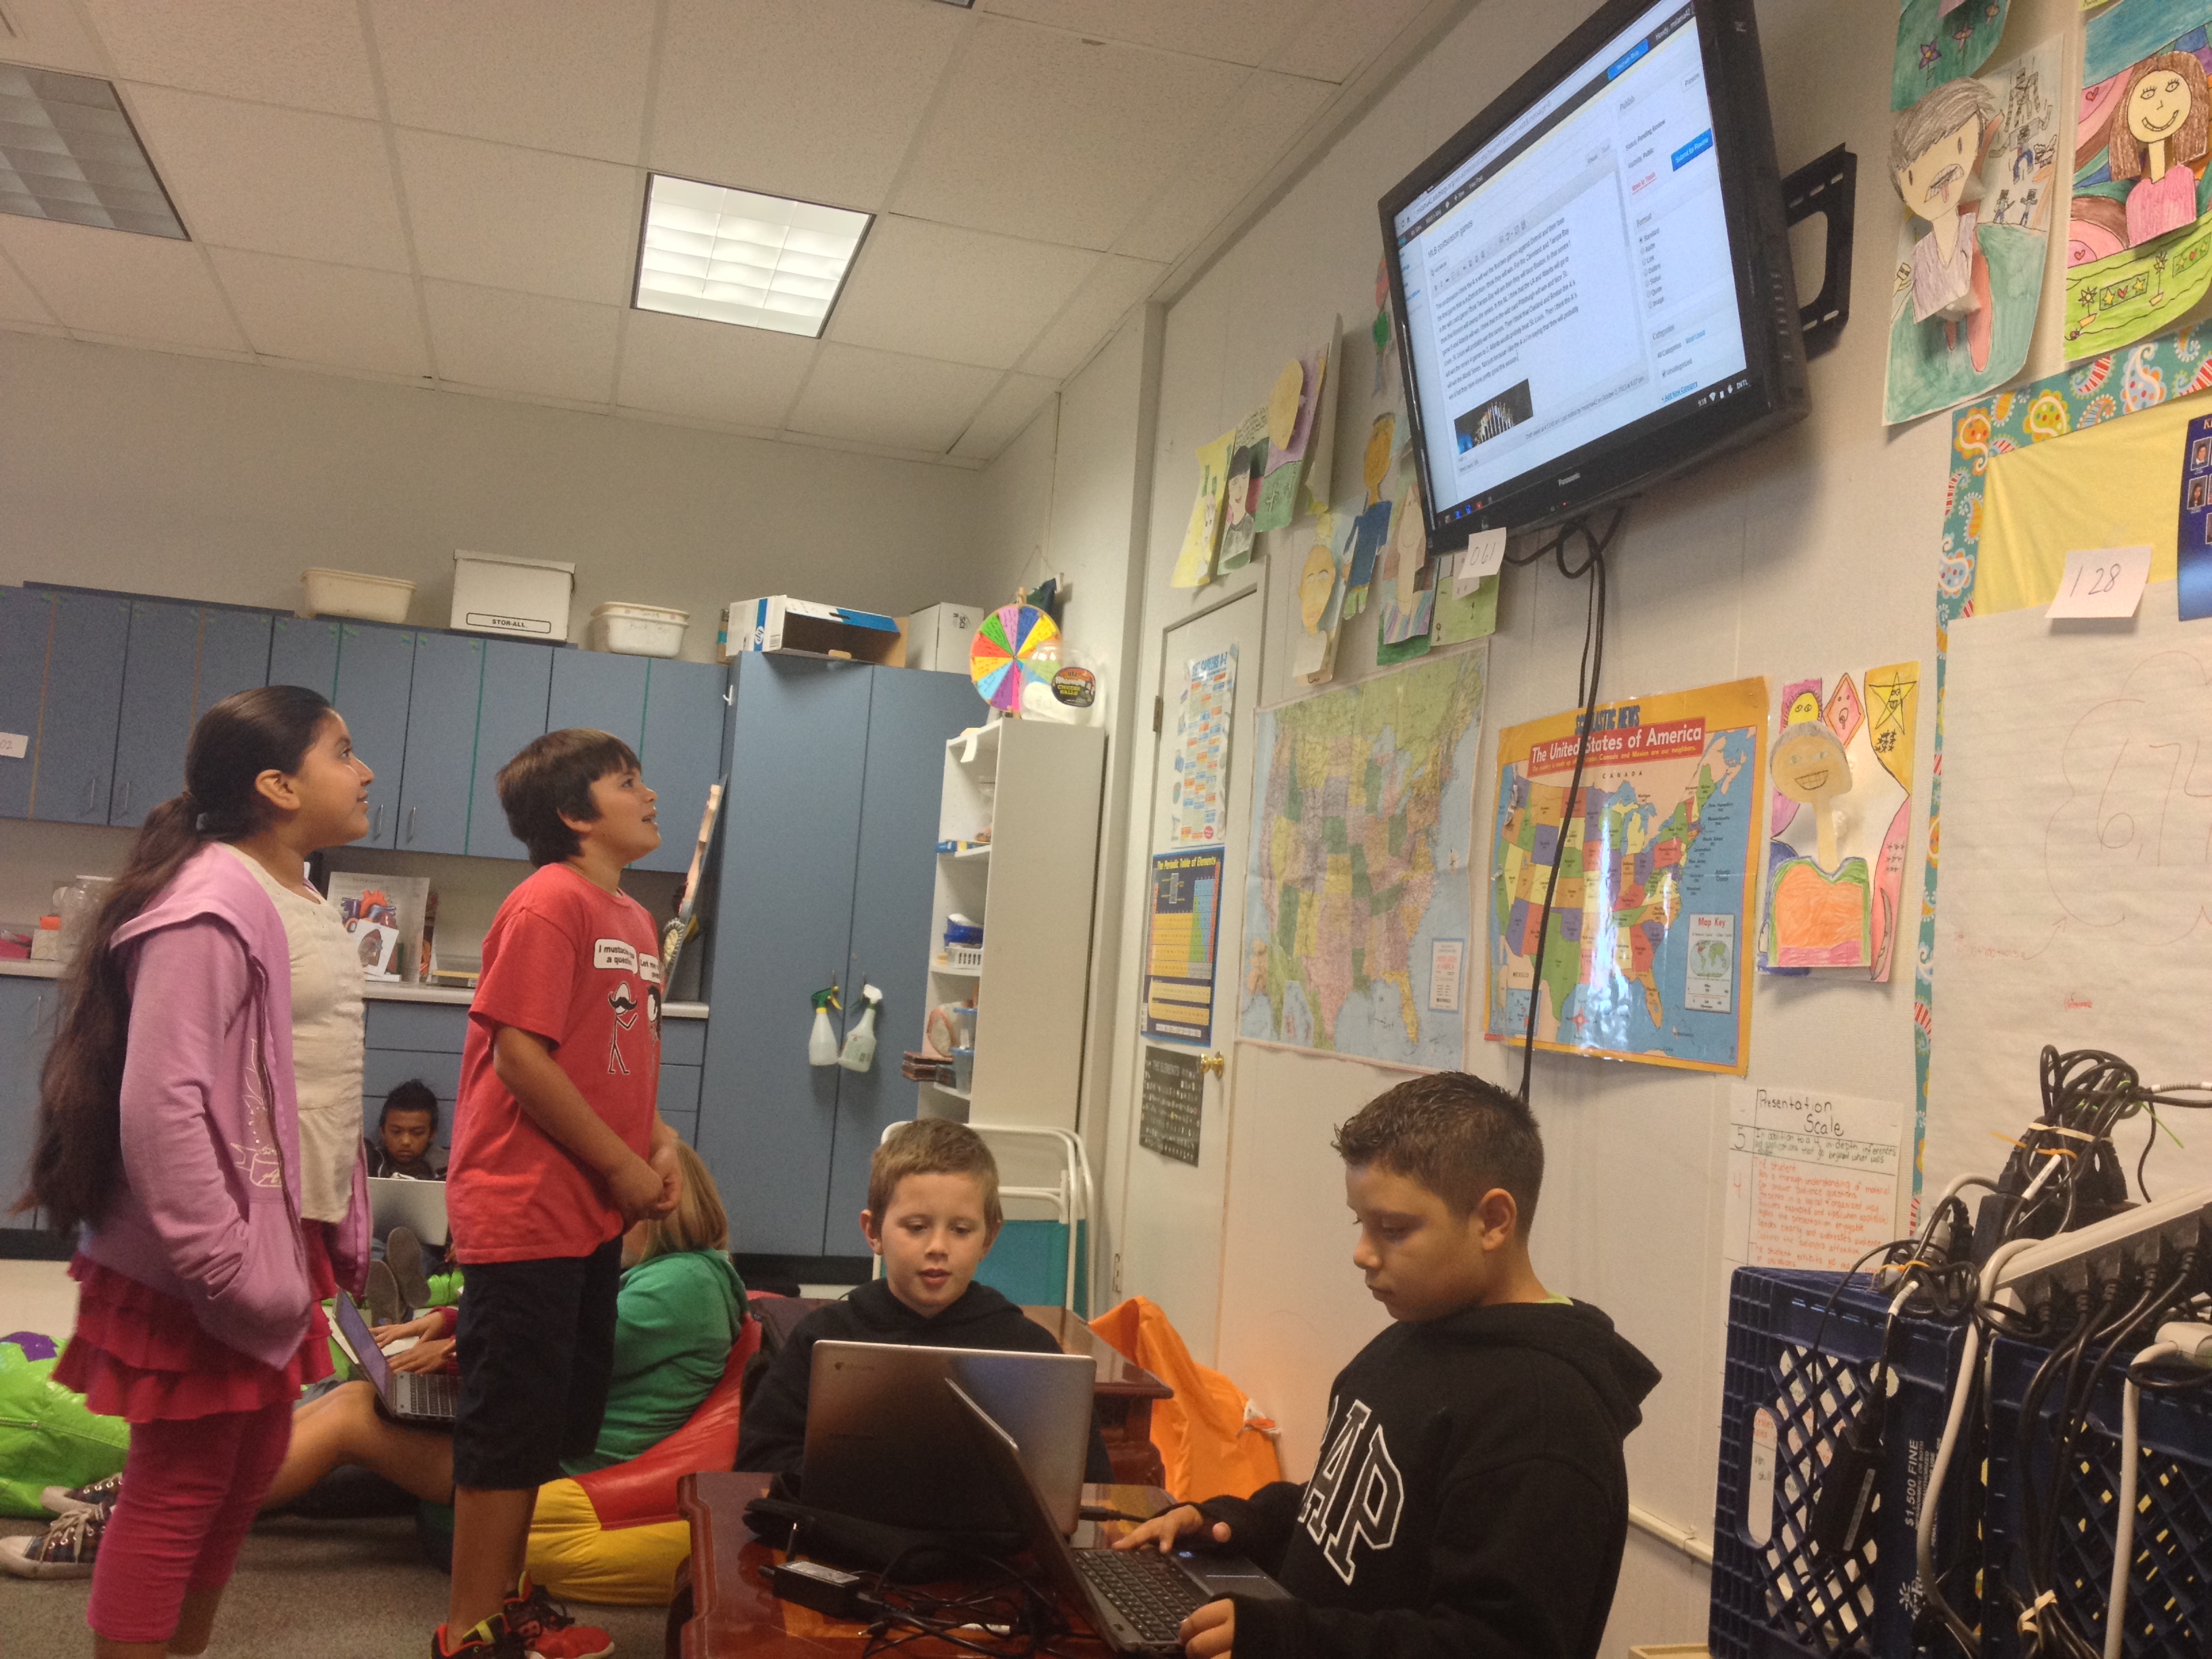
 piece of paper. They could have written about themselves and drawn a picture, but come on, let’s face it – using a Web Tool is way more fun. And totally cool! So I showed them how to create one using the different characters, embellishments, and voices. And then, I let them go – free to create.