Beginning With Google Classroom
Not sure how to get started? This is a quick tutorial that will get you on your way.
Newsela + GDrive = Success!
 Last week, Richard Byrne of Free Technology for Teachers wrote about using Newsela and Google Docs for differentiated collaborative reading. The idea was so brilliant, yet simplistic, that I had to try it.
Newsela is a free collection of current event articles. It contains relevant, non-fiction writings starting at grade 3. One of the options I like about Newsela is the feature to adjust the same article for varying reading levels. Another nice feature is ‘Quiz’. The Quiz questions are aligned to CCSS – according to the grade the selection is set to.
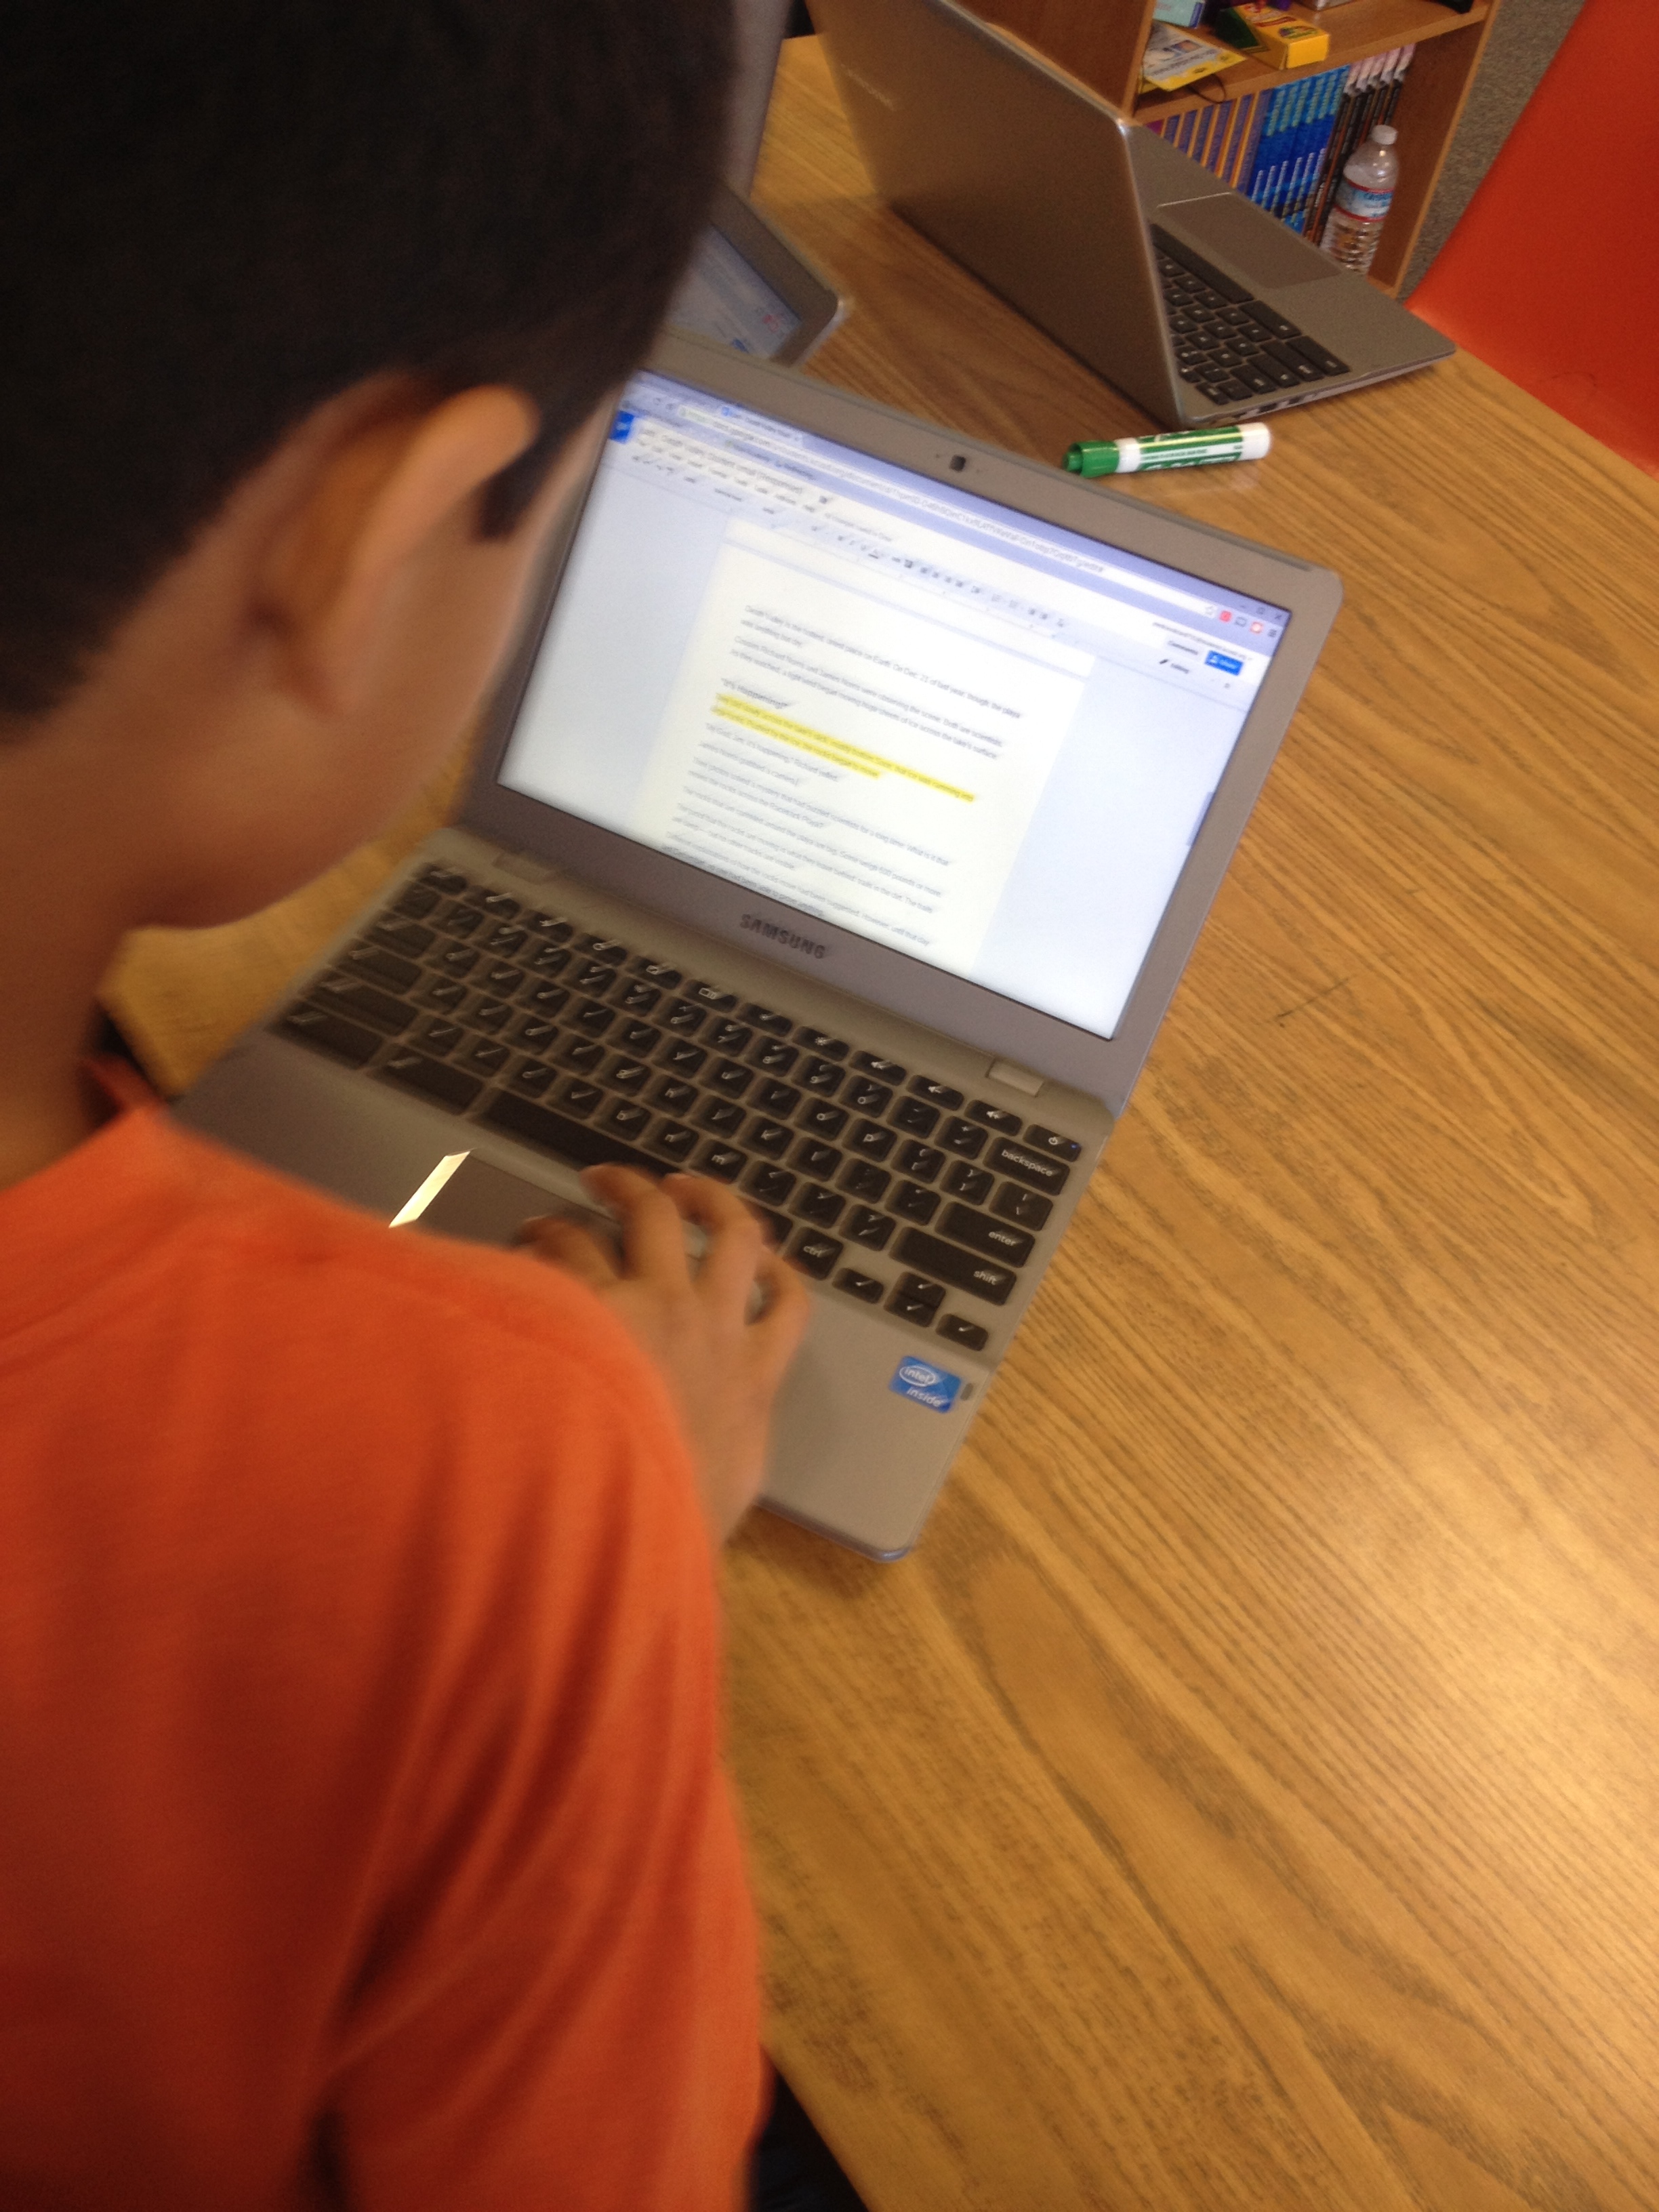
So taking this idea and running with it, I decided to use Doctopus to make workflow that much easier. I found an article of interest – What moves these big rocks across the desert floor? Hint: It isn’t UFOs – set the reading level to 4th grade (next time I’ll adjust it to each student’s level), copied and pasted the article in a doc, grabbed a few of the questions – requiring students to locate evidence by highlighting the text, and ran Doctopus. Before we began, I reminded the students how to comment (to annotate the text), highlight text, and use the favorite ‘undo’ button. We used ‘undo’ a lot today! As I gave each student ‘editing’ rights on the document, several accidentally erased or moved text when trying to highlight. 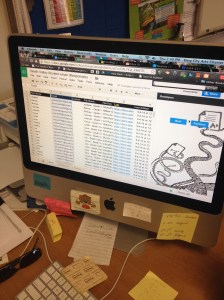
The process was simple, and the outcome was #AwesomeSauce! Each question asked was highlighted in a particular color. For example, question 1 was highlighted in yellow. So question 1 evidence was highlighted in yellow in the text by the student. Question 2 was highlighted with a bright green. This was done so that I could ensure that the student could accurately match up the question with the evidence. And there is the added bonus that when I go to check their work, it’s super easy for me to find the evidence for each question. Makes checking a breeze.
The students were engaged, and actively reading! I loved this so much, I’m definitely going to do more of this.
Another great resource I plan to use is Dogo News. It too has relevant non-fiction text for students.
Google Classroom – Part 4
Grading Assignments:
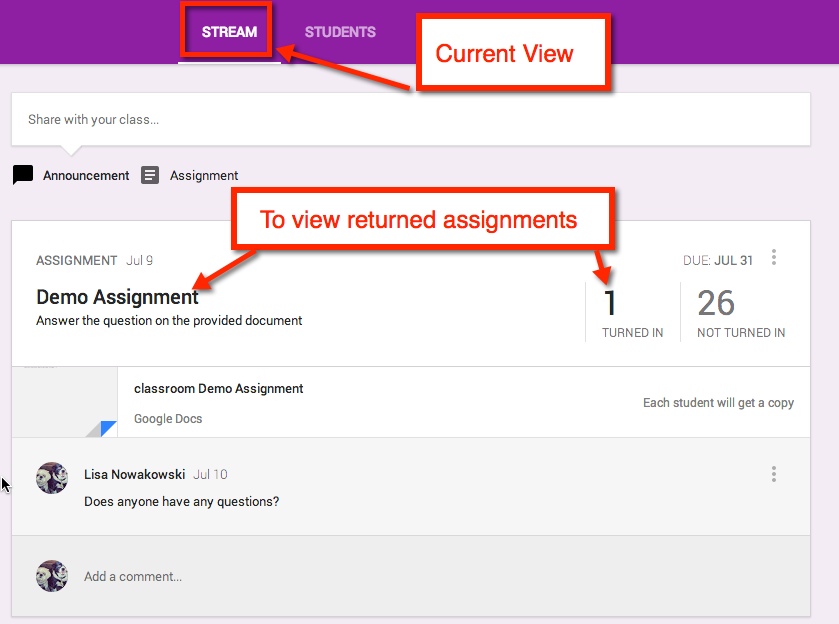
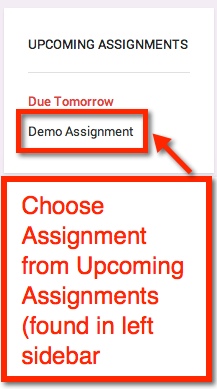
In your stream, you can easily view returned assignments. Either choose the title of the assignment or ‘Turned In’. The left sidebar will show all upcoming assignments as well.
Student Submission Page:
This allows you to view the status of all students’ assignments, private conversations with students, set point value, grade, and return assignments.

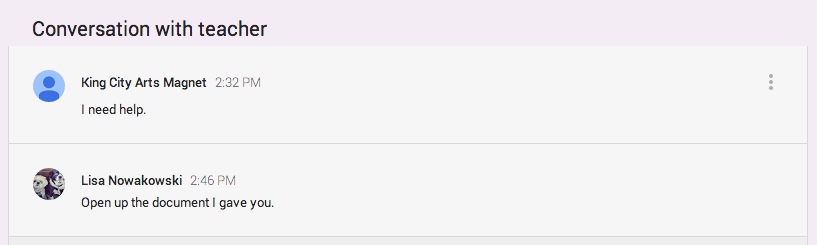
Private Conversation:
If the student has a comment or question, they can easily talk with you about it privately.


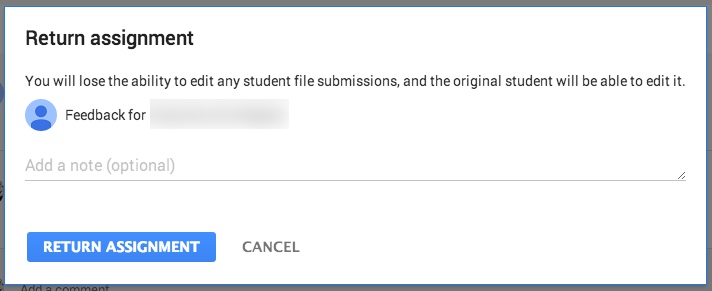
Scoring and Returning:

In Google Drive:
When you create a class, or students are enrolled in a class, Google automatically creates a Classroom Folder in your, and the student’s, Drive.
Student’s Drive:
In the Classroom Folder, the student is enrolled in 1 class, Class Demo 1. Whenever an assignment is created, it is automatically placed in this folder.
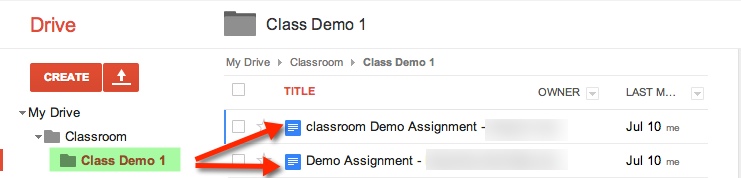
Teacher’s Drive:
In addition to the Classroom Folder and the Class Folder, teachers will also find that each assignment has a folder (within the assigned class) and a Templates Folder. The Templates Folder is a collection of all Google Created assignments for that class.

Google Classroom – Part 3
Now that you’ve set up your Classroom and created an assignment, what do the students do and see?
The Student Perspective:
Students can either enroll themselves by inputting a Class Code or teachers automatically enroll them. Currently students are NOT notified when they are enrolled in a class, if the teacher automatically enrolls them.
When a student first opens up their Classroom, it will look very much like the teacher Stream view, with a few differences
The students will also be able to see who is in their class.

See and Comment on Announcements:
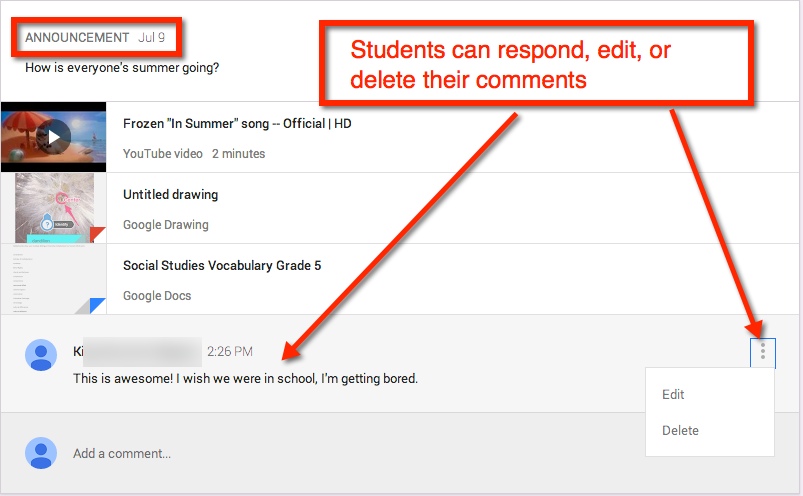
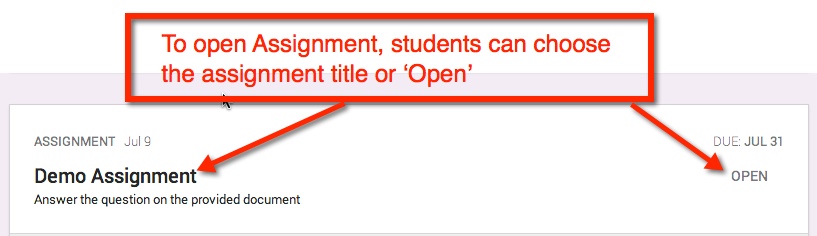
Assignments:
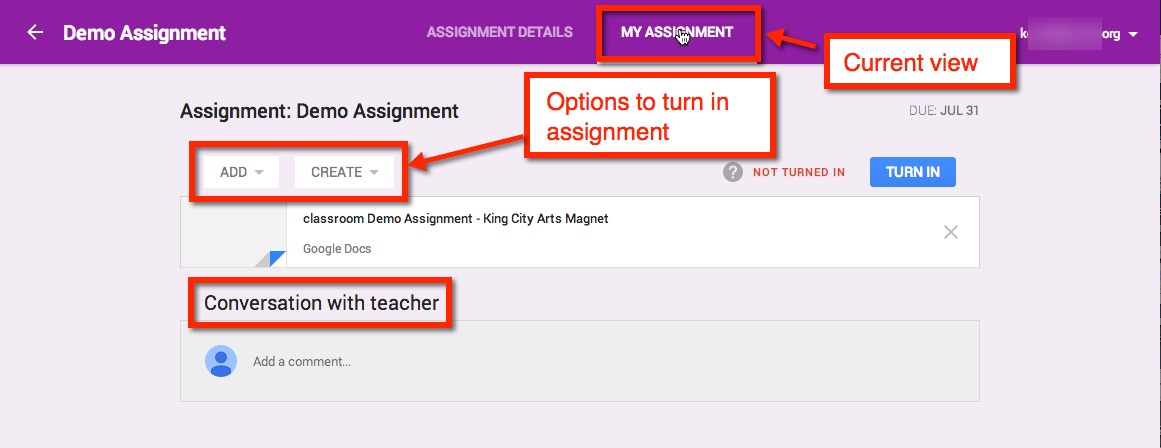
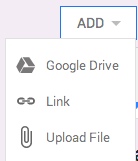
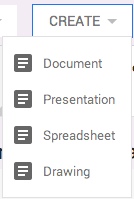
If the student needs to create the assignment – meaning the teacher did not create a document and share with student(s) – They have several options in which to upload or create.
If the student has a question or comment, it can be made in this stream privately.
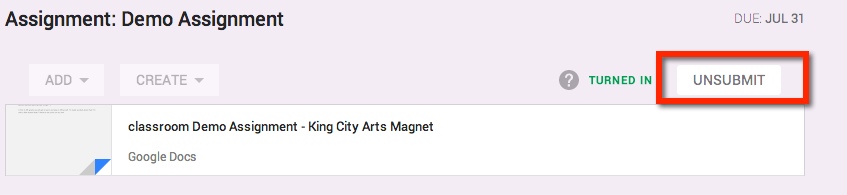
IF the teacher shared a document with the student(s), then the document title can be chosen and it will open in a new window. The student(s) can then edit in that document. Once the assignment is completed, the student can turn in the document from the Assignment Page.


If the student realized that they made a mistake, they can ‘Unsubmit’ the assignment.
Viewing Score:
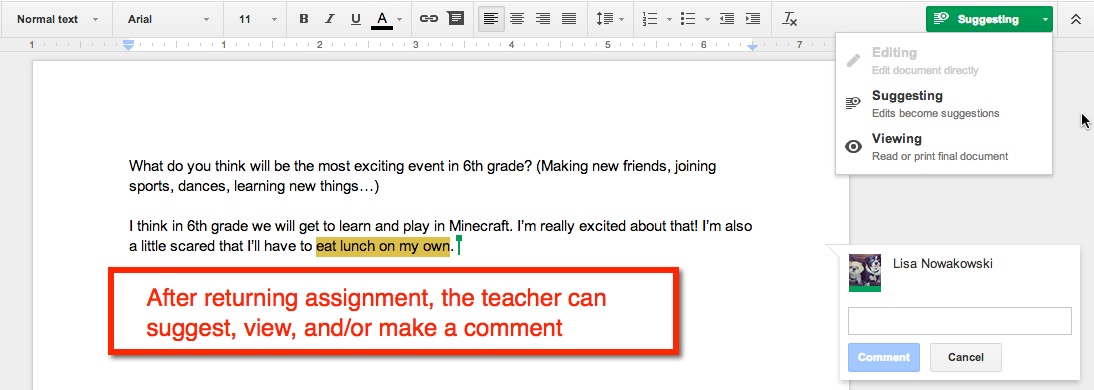
Once the teacher has graded the assignment, it will be ‘Returned’ to the student. The student will have full editing rights (the teacher will be given commenting rights). They can view the score and any comments in My Assignment page. When the student views the score from their Assignment Details page, they will only see comments made to the entire class. Private comments between the teacher and student are on My Assignments page. 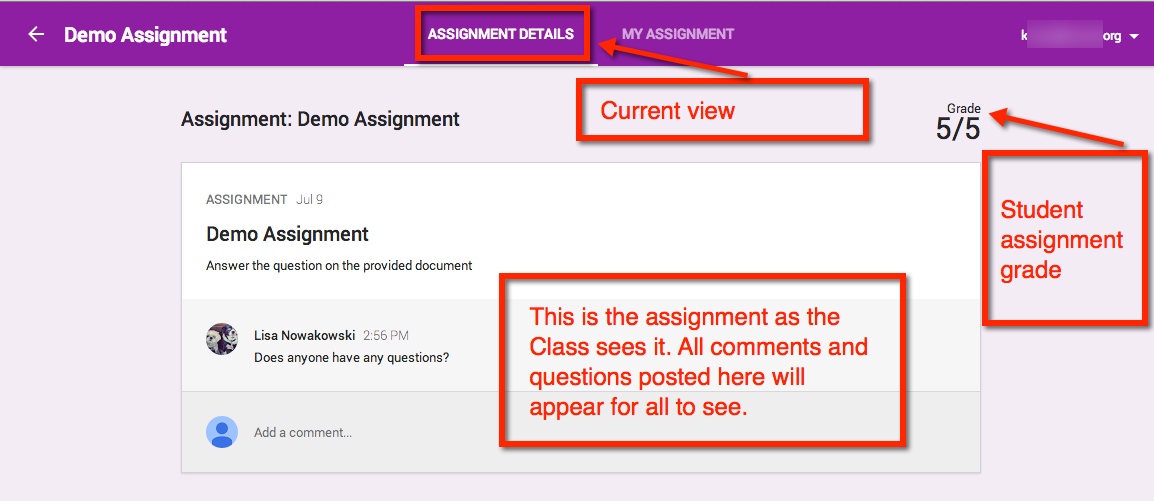
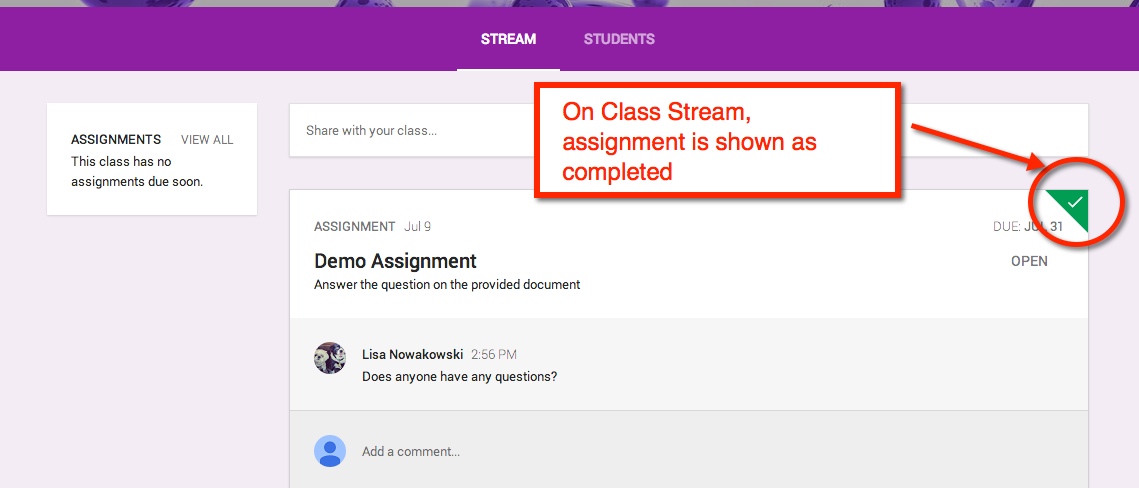
When the student has submitted an assignment, it will be noted in their Stream.
Other Information:
If an announcement or assignment is created while the student is in the Class, a notification appears.
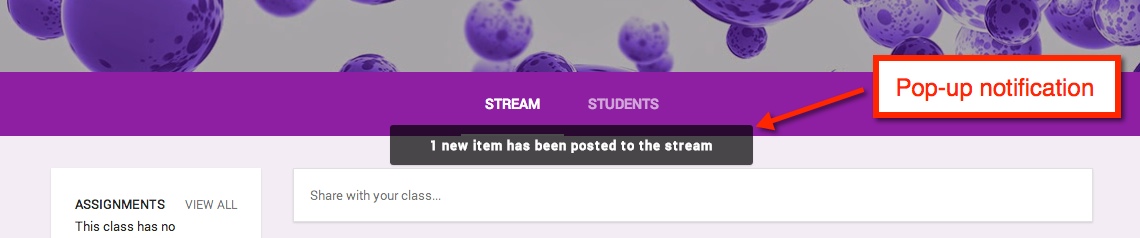
Notification:
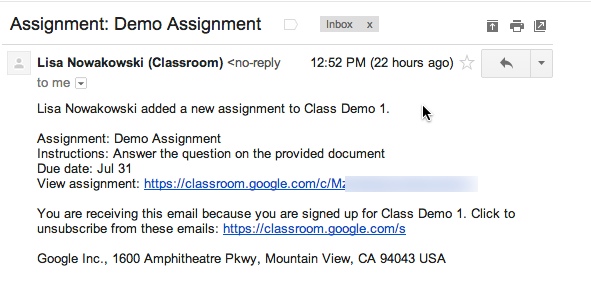
When an Announcement or Assignment is created, the student will receive an email notification.
Google Classroom – Part 2
Okay, so now that you have your Classes set, you want to start creating Announcements and Assignments.
Create Announcement
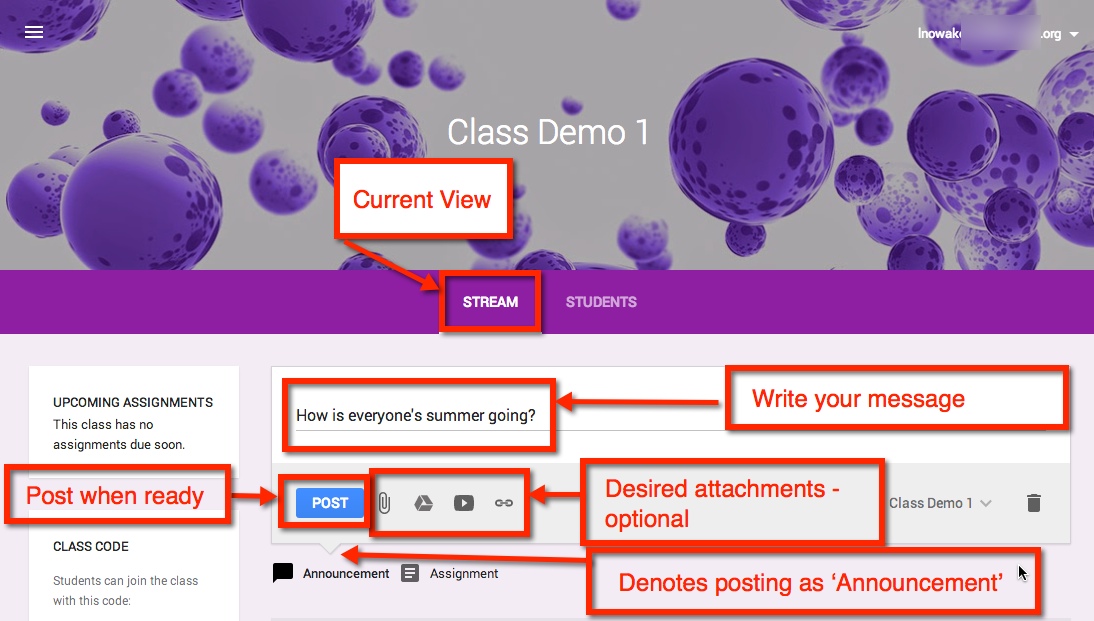
Once you are in the Class in which you would like to create an Announcement, make sure that you are viewing the Class Stream. The default is set to create Announcements, but you’ll want to make sure by looking for the downward notch is above ‘Assignment’. You can post your announcement solo or attach a file, something from Google Drive, a YouTube video, and/or a link. Select the blue ‘Post’ button, and you’re done.
Note: Students will have ‘View Only’ rights to any attachment found in your Google Drive.
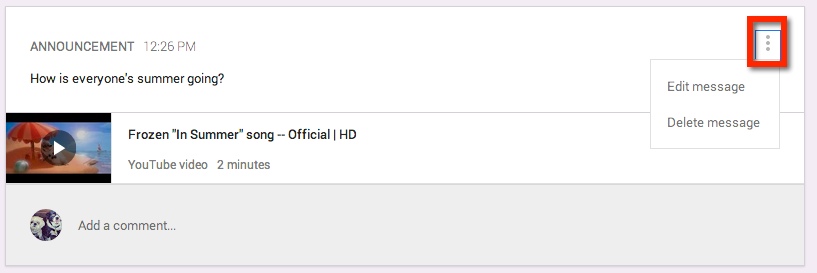
Edit/Delete Announcement
Once you have created your Announcement, you can either edit or delete it by choosing the three (3) dots at the upper right corner of the Announcement.
Creating an Assignment
The process for creating an Assignment is very similar to that of creating an Announcement. You have the additional options to set a Due Date and Time.
Note: You determine how items from your Google Drive are shared – view only, all students can edit the document, or make a copy for each student.

Same Assignment and/or Announcement: Several Classes
One nice feature is that you can share the same Announcement or Assignment in several Classes without having to post in each class. By choosing the drop down arrow at the lower right corner, you can select which Classes you would like it to appear.

Turned In Assignments
After you have posted your Assignment, you can easily see how many students have turned in the Assignment.

Edit/Delete Assignment
As with Announcements, you can Edit or Delete the Assignment by selecting the three (3) dots in the upper right corner of the Assignment.

Google Classroom – Part 1
What is Google Classroom?
In June, Google started sending out invitations to Beta testers for Google Classroom. Google Classroom is a management tool for your GAfE account. It allows users to create classrooms in which you can assign work – YouTube videos, links, anything from Google Drive, or other files you may have stored elsewhere. In addition, you can also create announcements where students can interact with you and each other.
Currently Google is gathering feedback from all users. I am sure in the true Google ‘Spirit’, they will continue to modify and iterate (they are the masters of iteration) their latest tool.
Getting Set Up
So here is a BASIC overview from the teacher’s viewpoint. When you first open Google Classroom, a folder (Classroom) is automatically created for you in your Google Drive. Once open, you will be taken to the ‘Home’ screen. Here I have a current class set up and have highlighted some of the features available. If it is your first time, you can easily set up a class by choosing the plus sign (+) next to your user information at the top right corner.

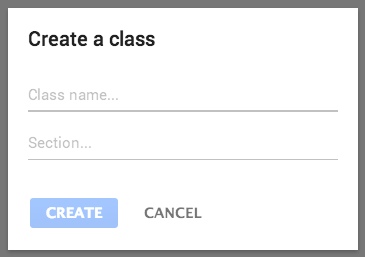
Creating a Class
Looking at how to ‘Create a Class’: A pop-out will appear, and you will be guided on how to create a class. You can then create classes for each class or period needed.

Inside a Class
Once your class is created you will be taken to the class ‘Stream’. This is where you can add students, create announcements and assignments. You will also be given the option to ‘Take a Tour’.


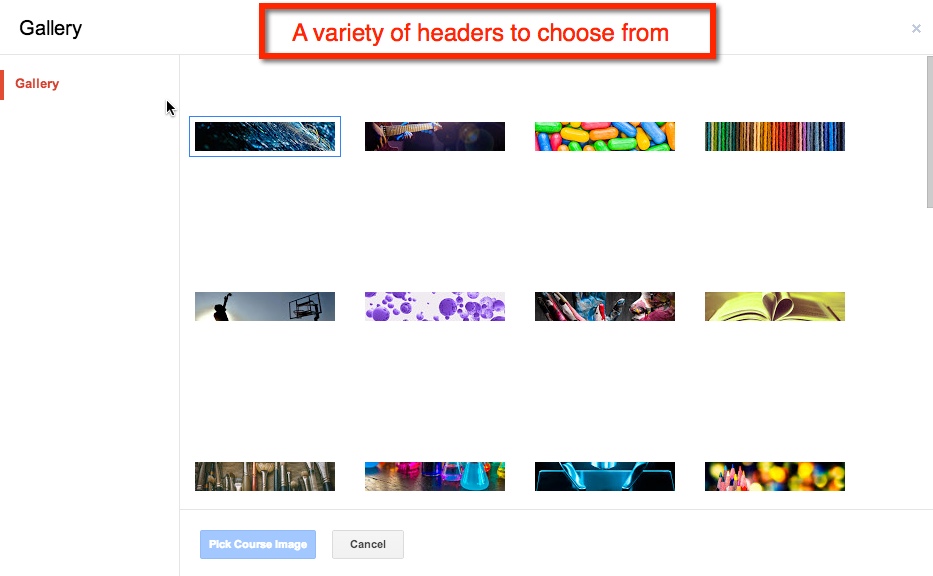
Change Picture
So you’re not fond of the purple bubbles? Not a problem. When your cursor hovers over the header, the option to ‘Change Picture’ appears in the lower right corner of the header. Once you choose that other options will appear.

Manually Assigning Students
As I am in an elementary self-contained classroom, I find it easier to sign my students up myself. However, if you are dealing with multiple classes, it might be easier to have them sign up via the ‘Class Code’.
Adding your own students only takes a few simple clicks. Start by switching your current view from ‘Stream’ to ‘Students’.
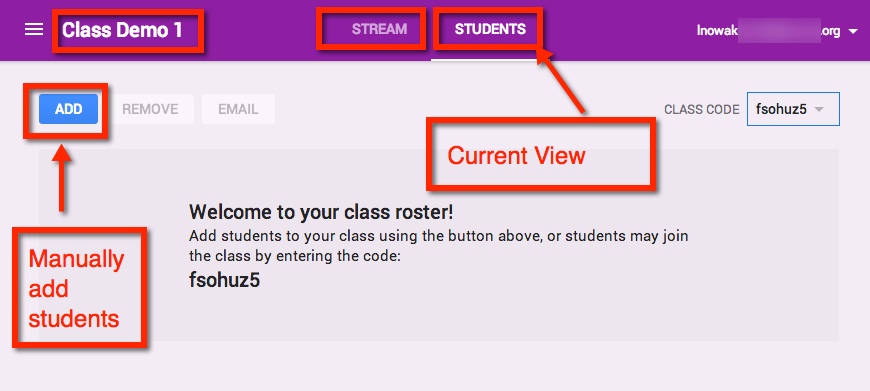
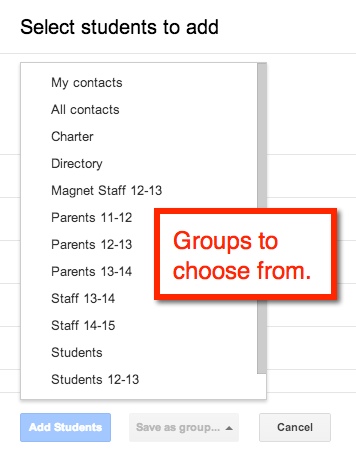
To manually add students choose the blue ‘ADD’ button. I can then either checkmark students from my contact list or select an entire ‘group’.

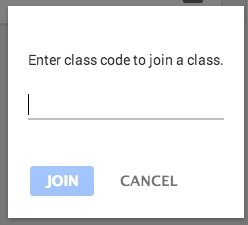
Join With a Class Code
When students go to their ‘Classroom’ for the fist time, they should choose the plus sign (+) at the top right corner next to their user information. This gives them the option to ‘Join a Class’ using the class code.

Google Sites: Edit Sidebar
Ever wonder how some get that nifty countdown for ‘Days until….’? Fortunately, it’s an easy edit. Here’s a quick tutorial to show you how you can edit your sidebar to include text, countdowns, and navigation.
Google Sites: Navigation Bar
I’ve been asked many times how I got my horizontal navigation bar. You know, those handy tabs that appear along the top of your Google Site. Well, the process is fairly easy:
Embed Video on Google Site
Embedding a video (NOT on YouTube) on a Google Site can be easy. It’s all about the Embed Code:
