CUE RockStar – Tahoe Edition

One of the best features of CUE RockStar events are the small sessions. Because the sessions are generally 10:1 – or smaller in some cases – AND 2 hours, attendees truly get individualized attention. Everyone gets to experience the tools and ideas first hand while surrounded by knowledgable educators. The energy in the sessions is amazing. We are all learning from one another!

For me, one of the most memorable sessions was one in which a high school teacher was inspired to recreate her assessments. She had her students reading The Glass Menagerie. After discussing different tools, she decided to play around with Animoto. One thing led to another and soon her excitement let to a whole new way of assessing her students on the book. She created a video for her students to watch. From here, her students will respond to the prompt creating a video using Animoto! It was such an awesome idea, and she was so enthusiastic and inspiring I just had to share this story.

This is why I LOVE CUE RockStar!

Unfortunately, I do not have the teacher’s example, but I do have an example of something that my students created on Animoto.

Tulare RockStar Day 1

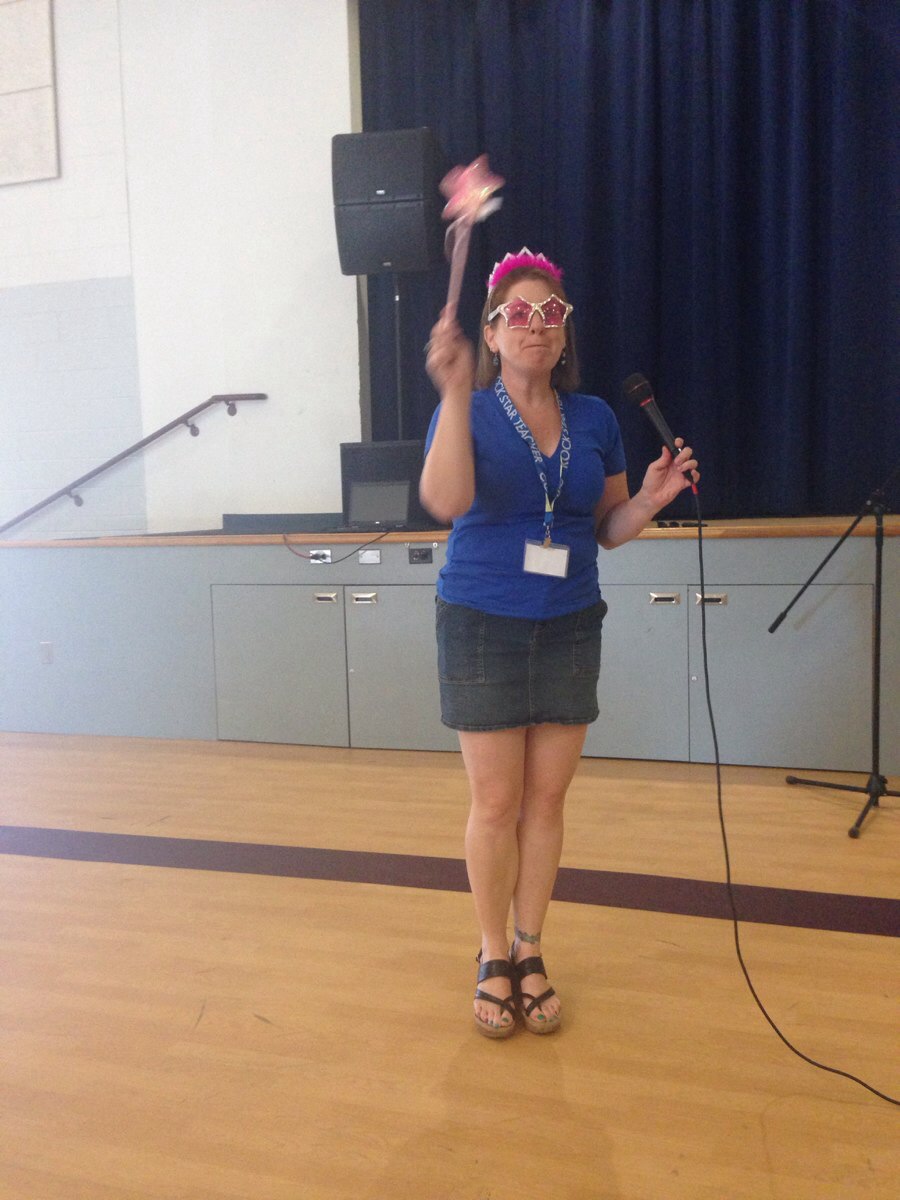
Awesome Day! It began with the introduction of Techie Fairy Godmother (that would be me) bestowing a bit of ‘Magic & Wisdom’ during the morning’s shred session.IMG_1430


The room was filled with eager educators, a puppet (Wokka), a robotic ball, and enthusiasm.

This week begins what I have dubbed ‘CUE RockStar 2014 Edition’. Today Tulare (known as Rural RockStar) and Monterey kicked off the season. Judging by how AWESOME today was, this is going to be an EPIC RockStar year! Stay tuned, I’ll keep you posted.

Outta Site

Chromebook Scavenger Hunt

Student e-Portfolio Template

Colour Lovers – create patterns from palette


Check out Scott Burt’s Sites info
Website
SLOCUE Connects – 10/4/14 (To view videos, go into Presentation Mode – upper right corner of screen)

Prepared for CUE RockStar 2014 edition:

Link for the collaborative document:

How to embed a NON-YouTube video on Google Sites:

Horizontal Navigation Bar:

Edit Sidebar:

Embed Blogger into your site:

Presentation Background Image

I have previously blogged about how to change the background color of a Google Presentation Slide Template. So this time, let’s take it up a notch. Let’s add a background image to your Slides!

To begin, open Presentation, and choose ‘Simple Light’ as your template. Then from the tool bar, choose ‘Background’.


background 1


background 2

For this example, we will focus on uploading an image from your computer.

Background 3


You can either drag the image or choose to upload from where the image is stored. Let’s look at how to upload the image.

Background 4

When I choose the blue ‘Choose an Image to upload’, a pop-out window appears. Mine automatically shows everything on my desktop (1.). I can also choose a different location on my computer (2.). The image I desire is on the desktop (3.), therefore, I choose it, and scroll down to the ‘open’ button (or I can double click the desired image).

Background 5


I am then given the option to add the image to current slide (1.) or to add image to all existing slides (2.).

background 6


And there you have it, a unique background to your Presentation!

background 7

Table of Contents – Google Docs

This year I had my 5th graders writing their state reports in Google Docs. One of their tasks was to create a Table of Contents. Normally this is painful – mainly for me. While they understand the concept, they often list ALL the pages in a topic. This year I avoided that by using the Table of Contents feature in Google Docs. It was ridiculously easy!

In their state report they changed the text of each heading from ‘Normal Text’ to ‘Heading 1’

toc 1

toc 2

Repeat this process for all sections that need to be added to the Table of Contents. Once you have done this, you can now insert the Table of Contents. Go to the Table of Contents page and place the cursor where you would like the Table of Contents to be submitted. Then insert your Table of Contents.

toc 3

This is what you get. You have hot links to the different sections in a document.

toc 4


Add-Ons – Google Documents

There are many additions that you can add to your Google Drive. For this post, I will specifically talk about Google Documents. An Add-on is simply a tool that makes your life easier. Some examples are: Easy-Bib, Doctopus (great for teacher management – EDU), and a thesaurus.

So how does one get Add-ons? Well, it’s super easy:

Add on 1

add on 2


You can scroll through the options or do a search in the search bar (upper right corner or pop-out menu).

add on 3


Once the desired Add-on is selected, you will need to add it. Simply select the blue ‘free’ (or if there is a cost, the amount will appear) bar located in the upper right corner of the pop-out menu.

add on 4


Another pop-out menu will appear. It will request that you accept their terms.


add on 5


Once you accept, the Add-on will be found under ‘Add-ons’ in the tool bar menu.

add on 6