I, like many teachers, like to share my creations and ideas. I believe that when we share – freely, not paid for (this is a different rant) – that we build a strong community of teachers. We want our students to collaborate, so we should be setting that example. As always, two heads are better than one.
Okay, now that my rant is over I will get back on topic. Some of you may have been in a session where the presenter wanted to share his/her work. If that work is on a GSuite product, like docs or slides, when you went to the URL you may have seen this screen:

If you have, you know that you simply select the blue ‘Make a copy’ button and your own copy is made in YOUR Drive! So easy! Here’s how it’s done:
Find the word ‘edit’ in the URL of your doc or slide or spreadsheet. Then replace the word ‘edit’ with ‘copy’.

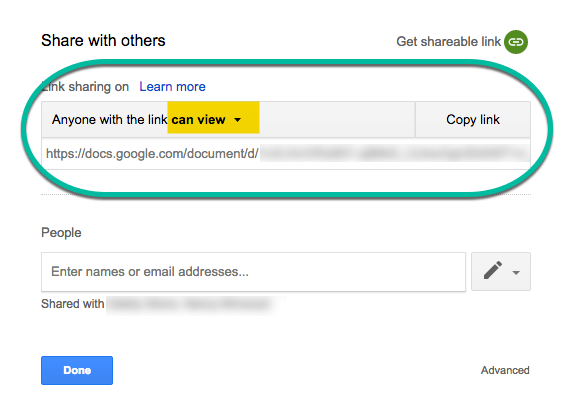
 That’s it. Now take that URL and use a URL shortener like goo.gl (Google) or bitly to share with others. When sharing, even this way, make sure that your document is viewable to others in your share settings. I like to have ‘anyone with the link can view.’
One final note. I have noticed that when many people (maybe 50+) are trying to copy your document with this method at once, it is unsuccessful. A message appears stating that the item isn’t available. This was a fun fact I learned during a presentation (the first time I thought it was a fluke) and then later at another presentation. So this method works best with smaller groups or when sharing on your blog.


