As the school year winds down in June, the last thing anyone wants to think about is August. However, spending just a little bit of time setting up your digital environment now is the ultimate gift to your future self. By organizing your space before you leave for summer, you can walk away completely disconnected, knowing you are ready to roll on day one.
When we talk about setting up for success, it’s not just about teacher sanity; it’s about the student experience. A messy, disorganized digital space creates unnecessary clutter that can quickly overwhelm students before the year even starts.
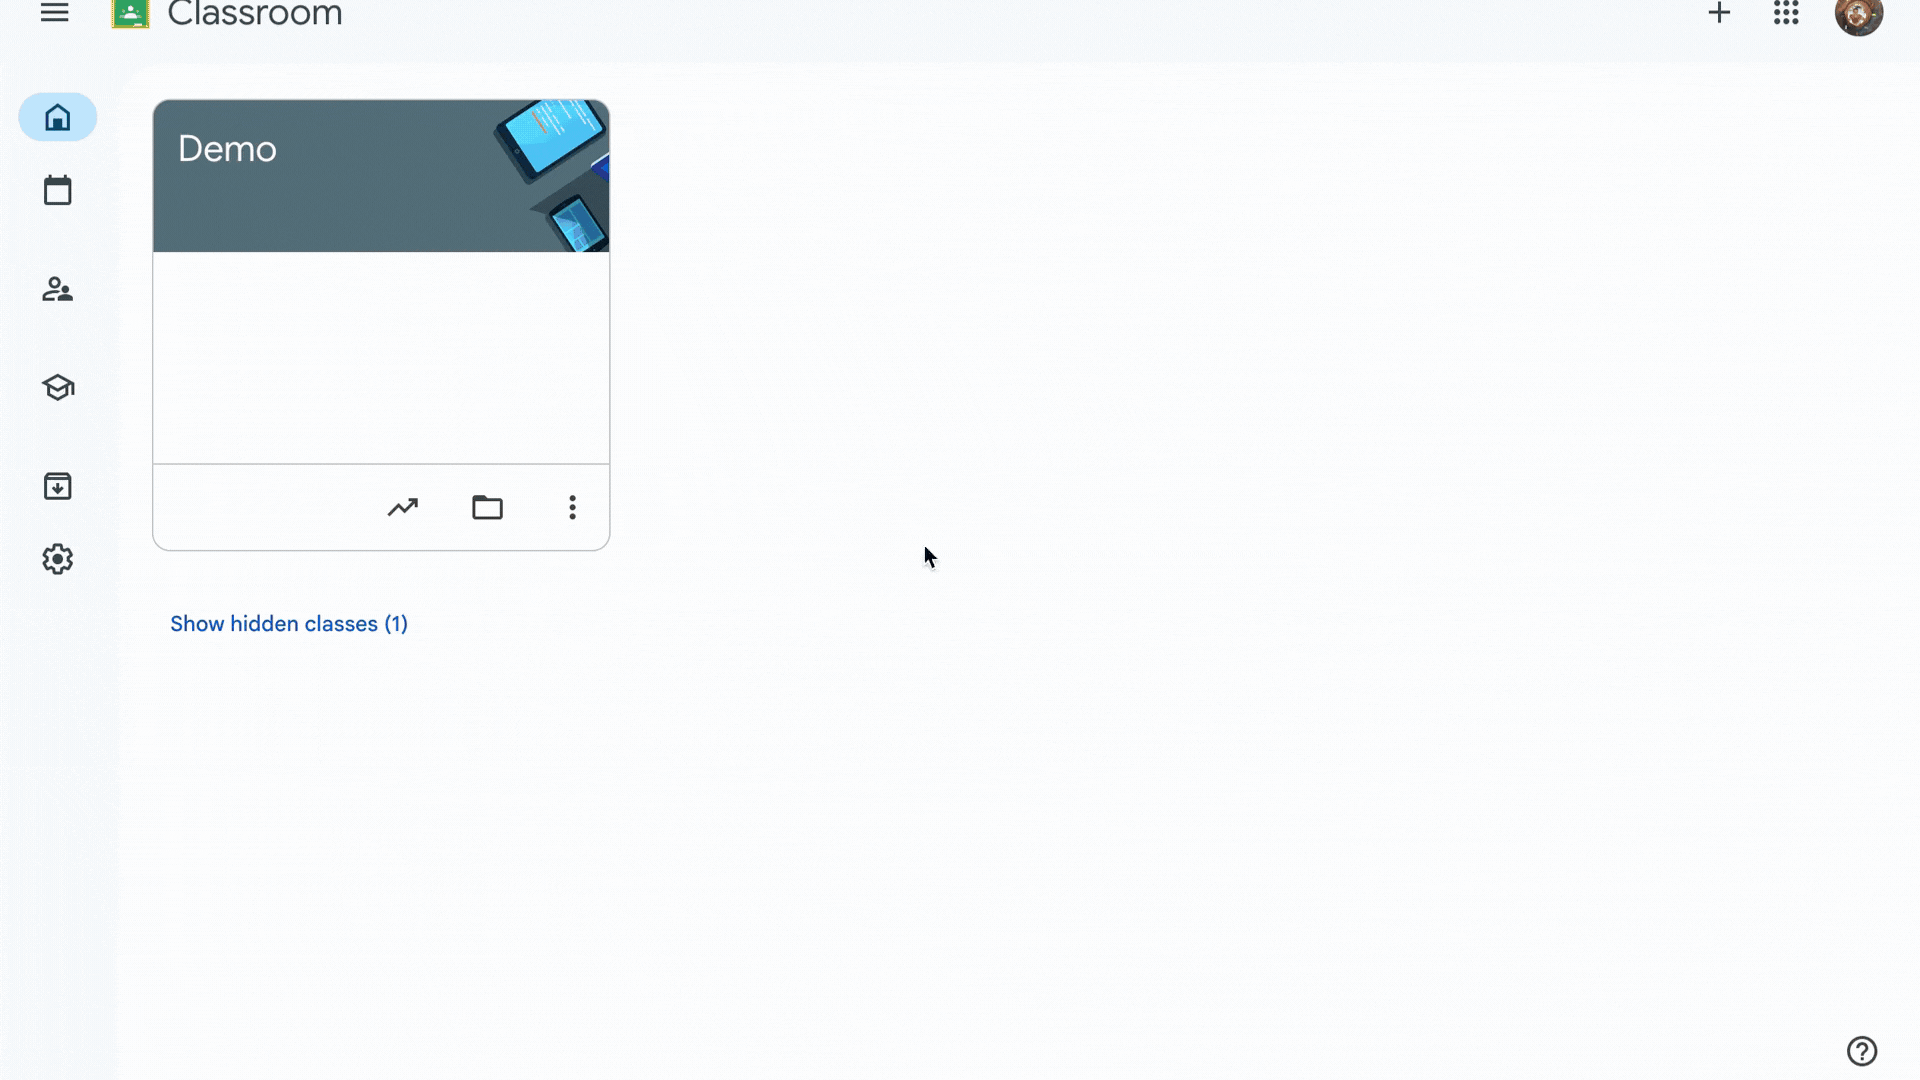
1. Archive This Year’s Classrooms (Not Just the Work)
Don’t just delete assignments or leave your current classes sitting active on your dashboard. Go to your Google Classroom homepage, click the three dots on your current classes, and then click Archive.
- Why it matters: Archiving completely removes the class from your and your students’ active dashboards, preserving the data and work without cluttering up the new school year.
- The Golden Benefit: Archiving keeps all your past assignments safe in the cloud. This means you can easily use the “Reuse post” feature next year to pull forward your best materials without having to recreate them from scratch.
How to Archive Your Google Classroom
Archiving your completed classes is the best way to clear the dashboard for both you and your students while completely preserving your assignments, materials, and student work for future reference.
- Navigate to the Classroom Homepage: Go to classroom.google.com or open the app.
- Locate the Class Card: Find the specific class you want to archive on your main dashboard.
- Open the Menu: Click the three vertical dots (More options) in the top right corner of that class card.
- Select Archive: Click Archive from the dropdown menu.
- Confirm: A pop-up will appear letting you know that you and your students won’t be able to make changes to the class unless it’s restored. Click Archive again to confirm.
Tip: You can always view, restore, or permanently delete these files by clicking the three horizontal lines (Main Menu) in the top left of your screen and selecting Archived classes.
How to Reuse a Post in Your New Classroom
Instead of recreating assignments from scratch every term, you can pull proven, high-quality assignments from any of your archived classes directly into your active dashboard.
- Open Your Active Class: Navigate to the new Google Classroom where you want to publish the assignment.
- Go to Classwork: Click on the Classwork tab at the top of the page.
- Click Create: Click the + Create button.
- Select Reuse post: From the dropdown menu, choose Reuse post (indicated by an icon with two spinning arrows).
- Choose the Source Class: A window will pop up showing all your classes. You can scroll or use the search bar to find the archived class that holds the assignment you want. Click on it.
- Select the Specific Post: Browse the list of assignments, questions, or materials from that class. Click on the one you want to bring over.
- Manage Attachments (Crucial Step): Look at the bottom of the window for the checkbox that says “Create new copies of all attachments.”
- Check this box if you want fresh, clean templates for your new roster.
- Leave it unchecked if you are linking to a view-only resource or a public webpage.
- Click Reuse: Click the Reuse button in the bottom right.
- Edit and Assign: Google Classroom will open the post as a draft. Here, you can adjust the instructions, update the due date, modify your emoji-coded topic headers, and click Assign or schedule it for later.
2. Pre-Load Your Subjects with Emoji-Coded Topics
When you build your new shell for August, set up your organizational structure right away using Topics.
- Group by Subject or Unit: Create clear, predictable categories to help your students navigate.
- Add Emoji Coding: Use relevant emojis at the beginning of your Topic titles (e.g., 🔢 MathReps, 📚 Reading). Emojis aren’t just decorative; they serve as powerful visual anchors that help students scan, locate, and navigate their assignments instantly, reducing cognitive load.
3. Queue Up the “Welcome Advice” (Leveraging Student Voices)
One of the best resources you have right now is your current crop of students. Before they leave, have them create quick advice videos or tips for next year’s incoming class. Try using Padlet‘s video feature for this. Even if you don’t have welcome advice for your students, queuing up rules, procedures, and expectations can save you time and stress in August.
- Go into your new August classroom shell.
- Use the “Reuse post” feature to pull forward that student-created advice video assignment from your archived class.
- Change the settings to Save as Draft or Schedule it for the first week of school. Hearing tips directly from peers is an amazing hook for day one.
4. Harness the Power of Drafts and Scheduled Posts
The secret to a calm start to the school year is controlling the flow of information.
- Avoid the Information Dump: When students log into Google Classroom on the first day and see twenty active assignments, they immediately shut down.
- The Strategy: Build your first week’s templates, resources, and baseline routines now. Instead of hitting “Post,” use “Save as Draft” or “Schedule.” This allows you to drip-feed the content to your students right when they need it, keeping their digital workspace clean, focused, and approachable.
By archiving the old, structuring the new with visual cues, and queuing up your first week as drafts, you can officially shut your laptop for the summer and truly relax. Your August self will thank you!

